


Are you new to modelling? Do you find yourself stuck and do not know where to start? No worries, we have your back. Here is our simple guide on how to build your first plastic model kit:
Summary
- A Step-by-Step Guide on Making High Gloss Plastic Models
- In Conclusion
A Step-by-Step Guide on High Gloss Plastic Model Building
How do you get started? First up are materials. Here are the things you need to prepare when building your first kit.
Materials you will need:
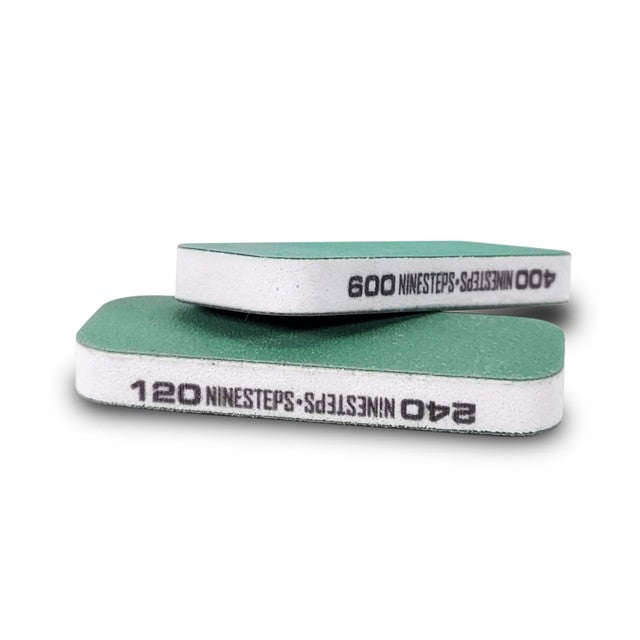
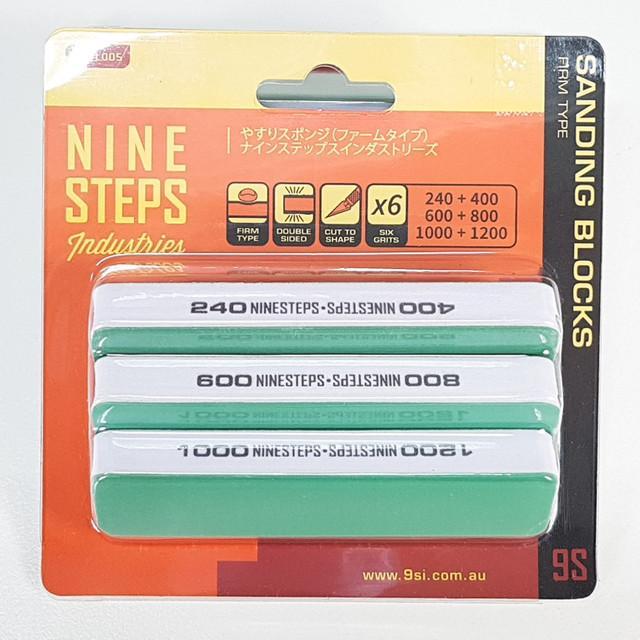
- Sand paper/ Sanding block (400-3000 Grits)
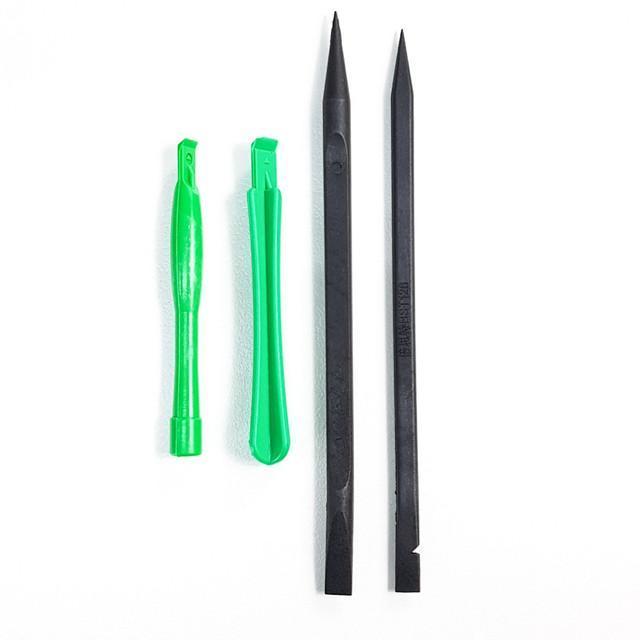
- Hobby Knife
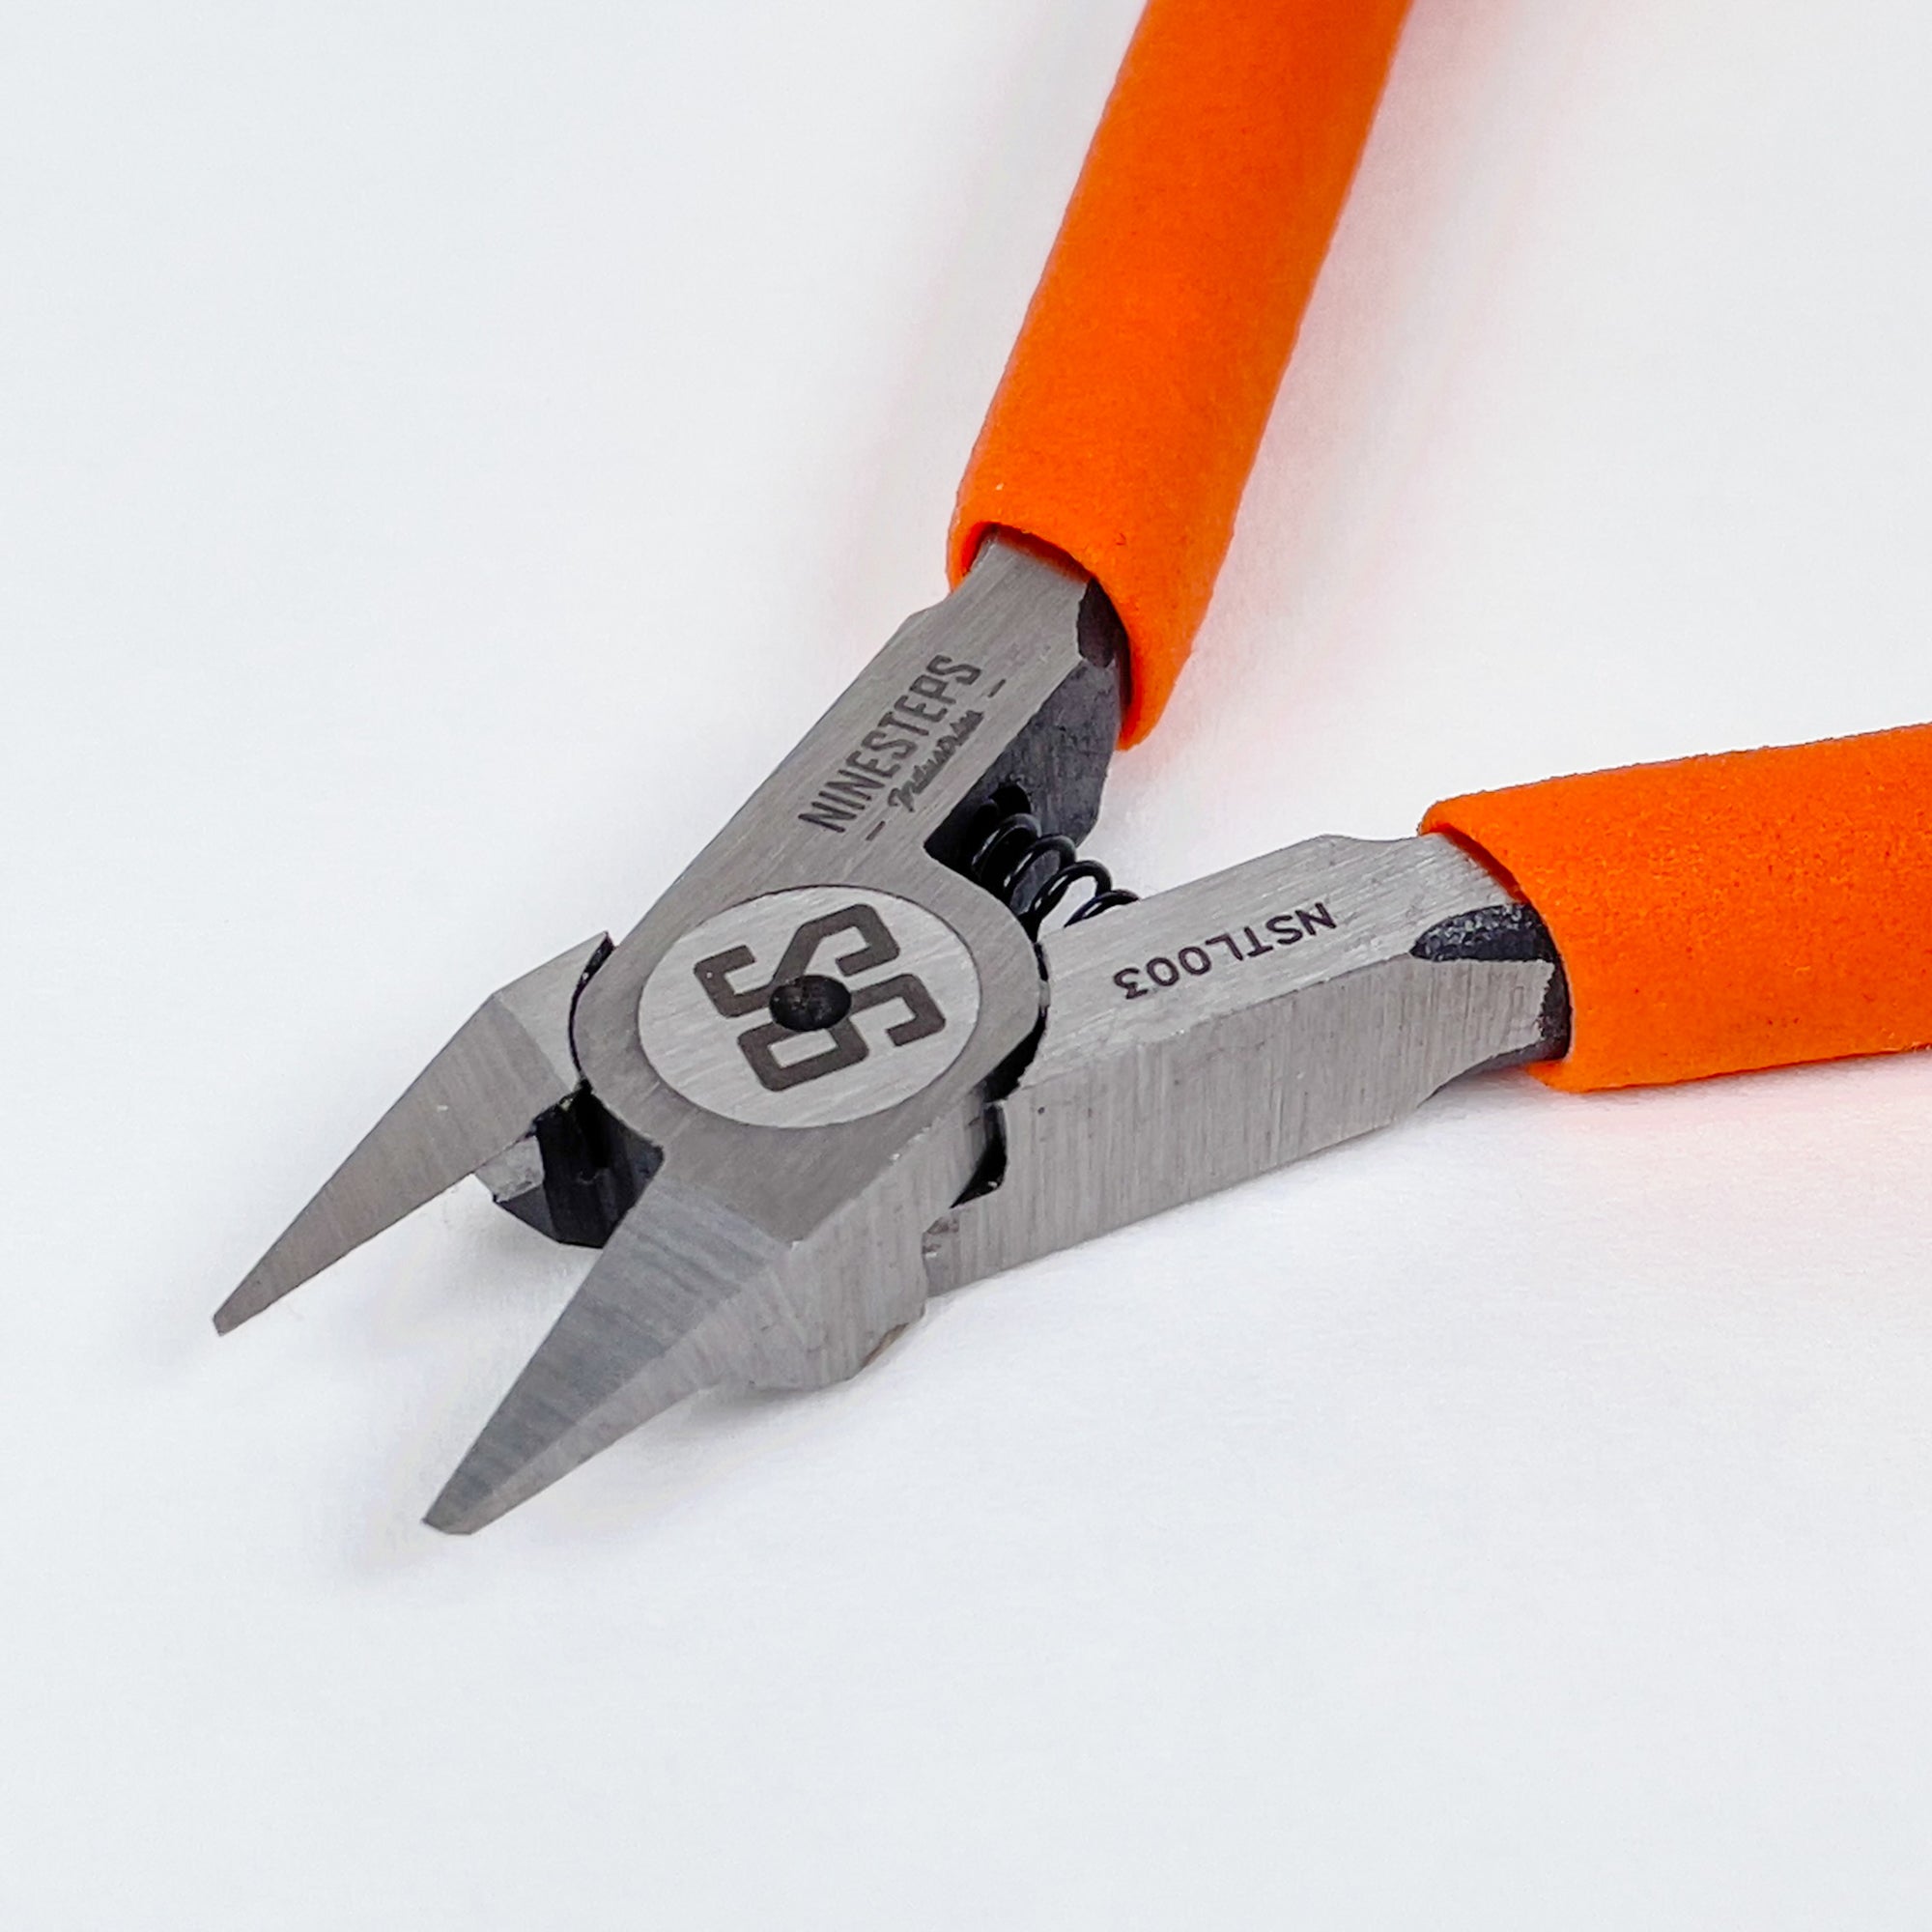
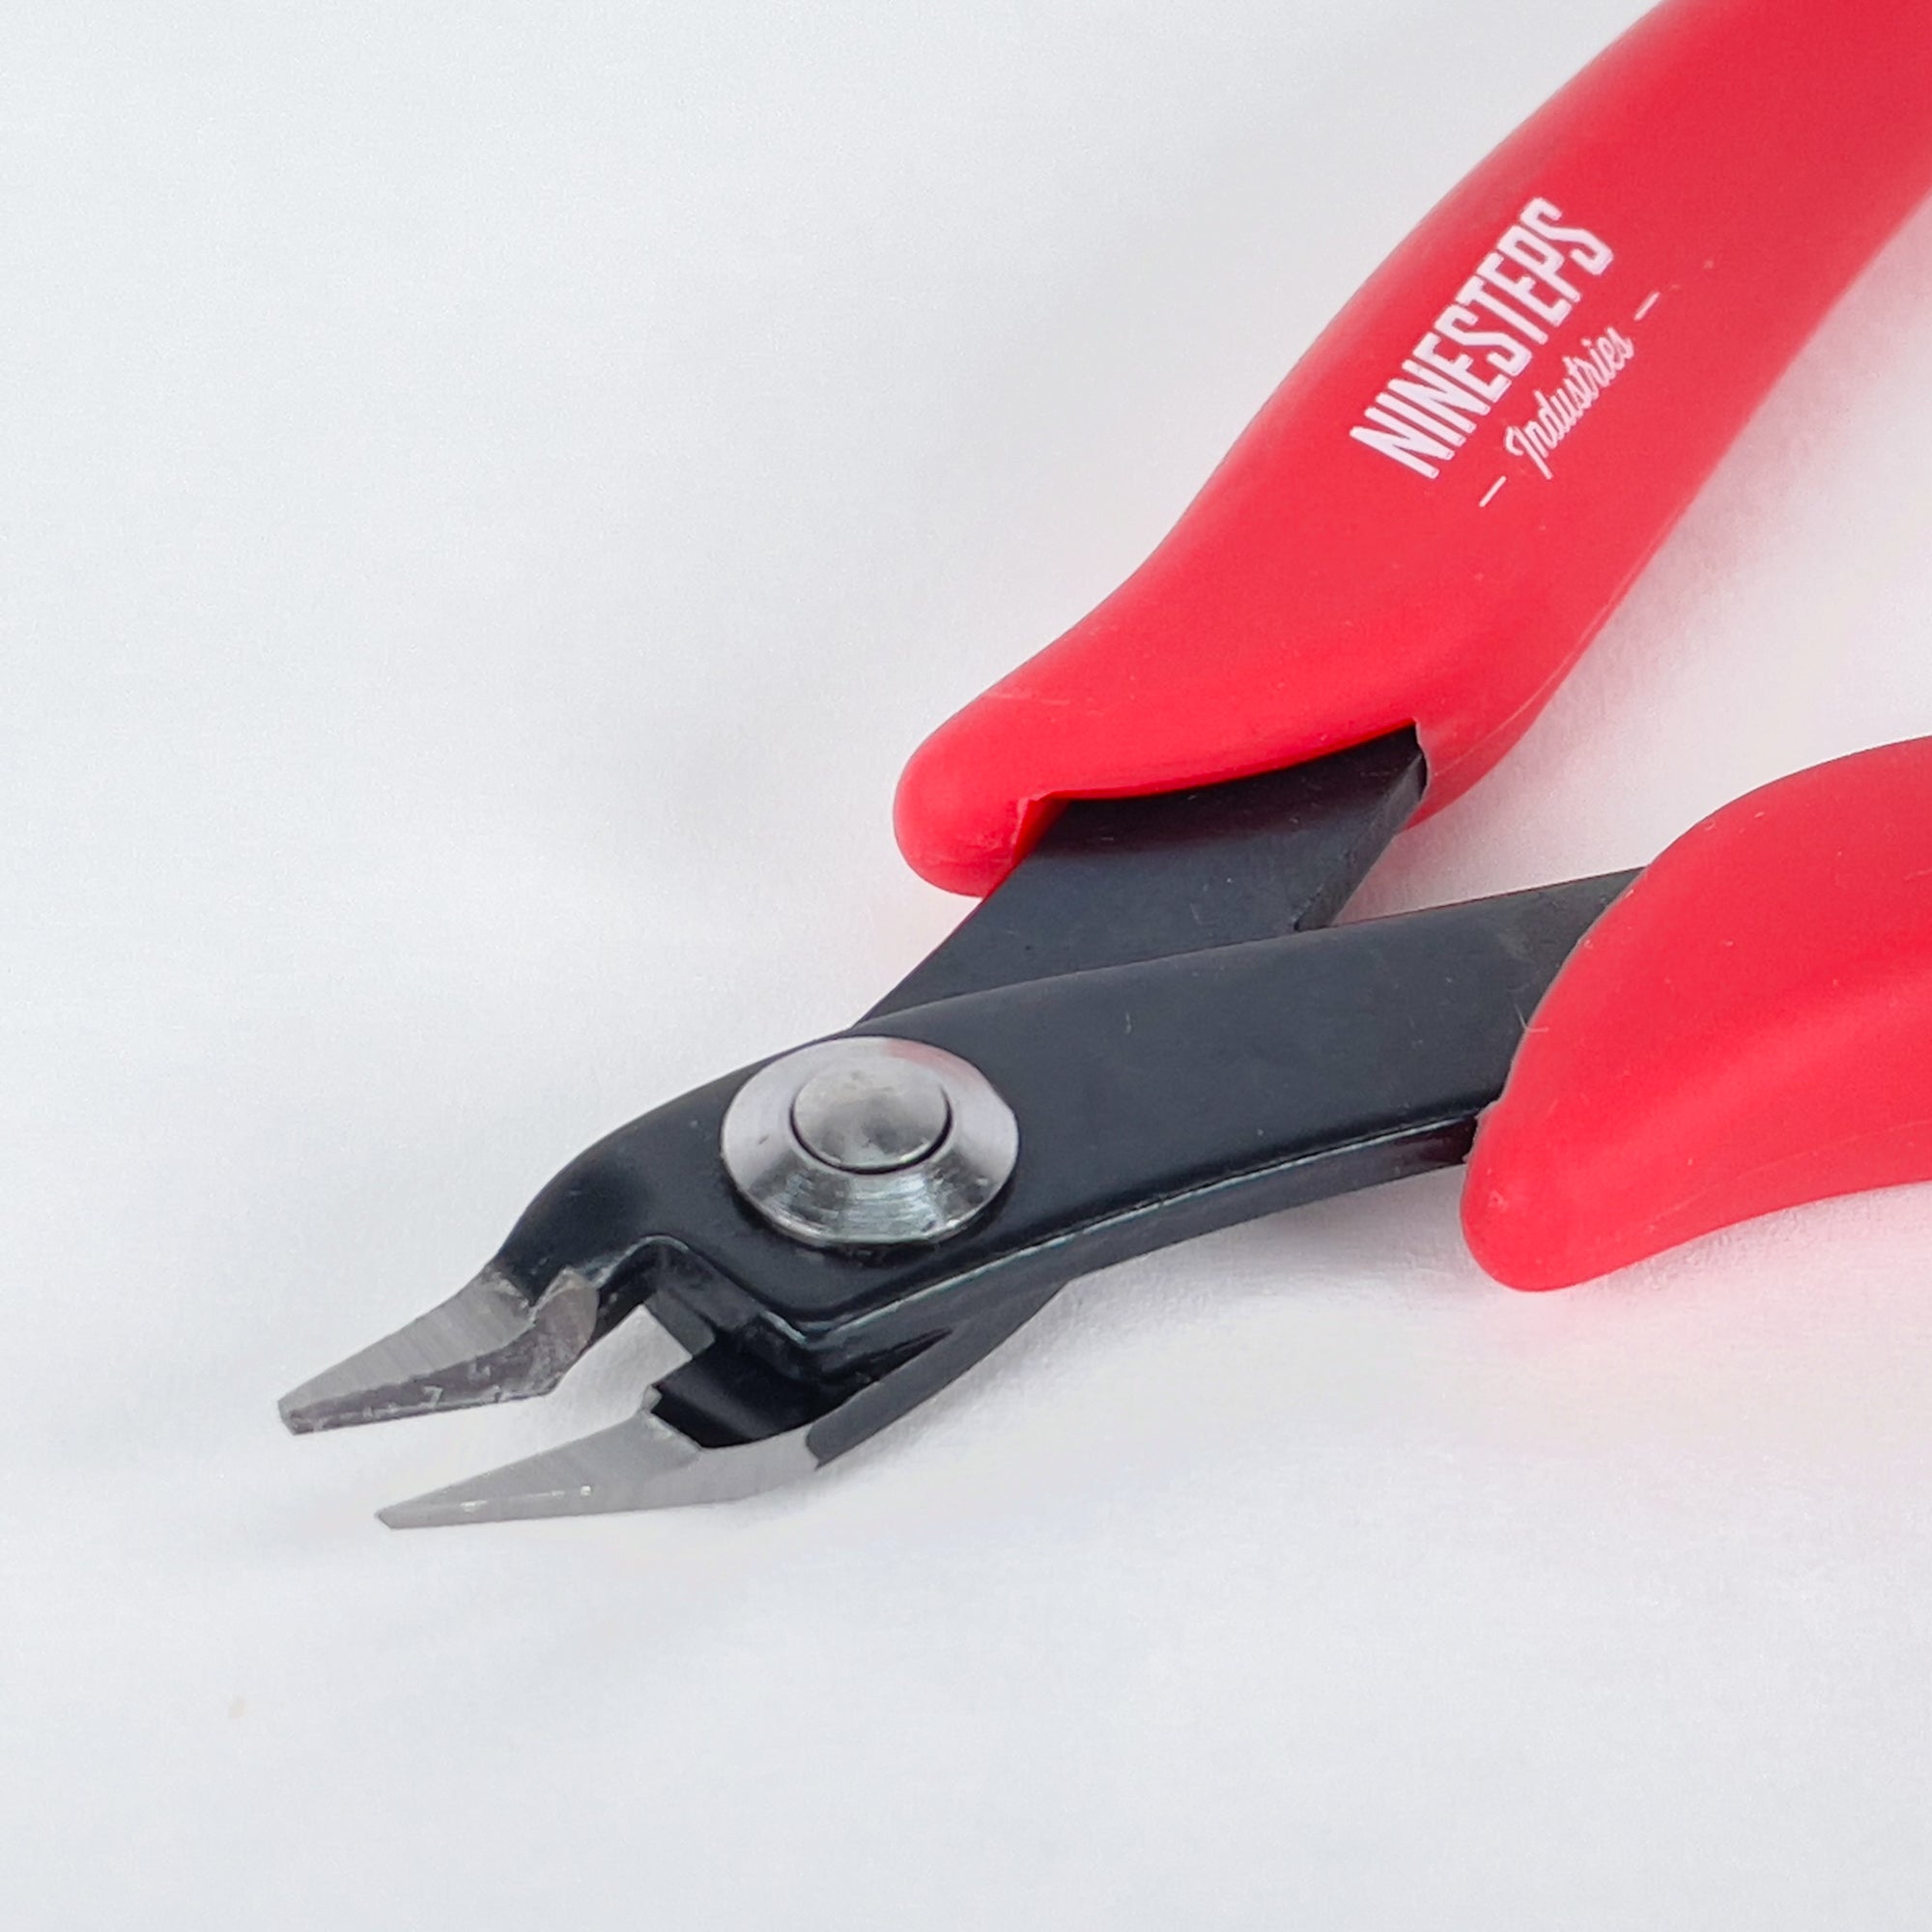
- Cutter/Plier
- Scriber tool
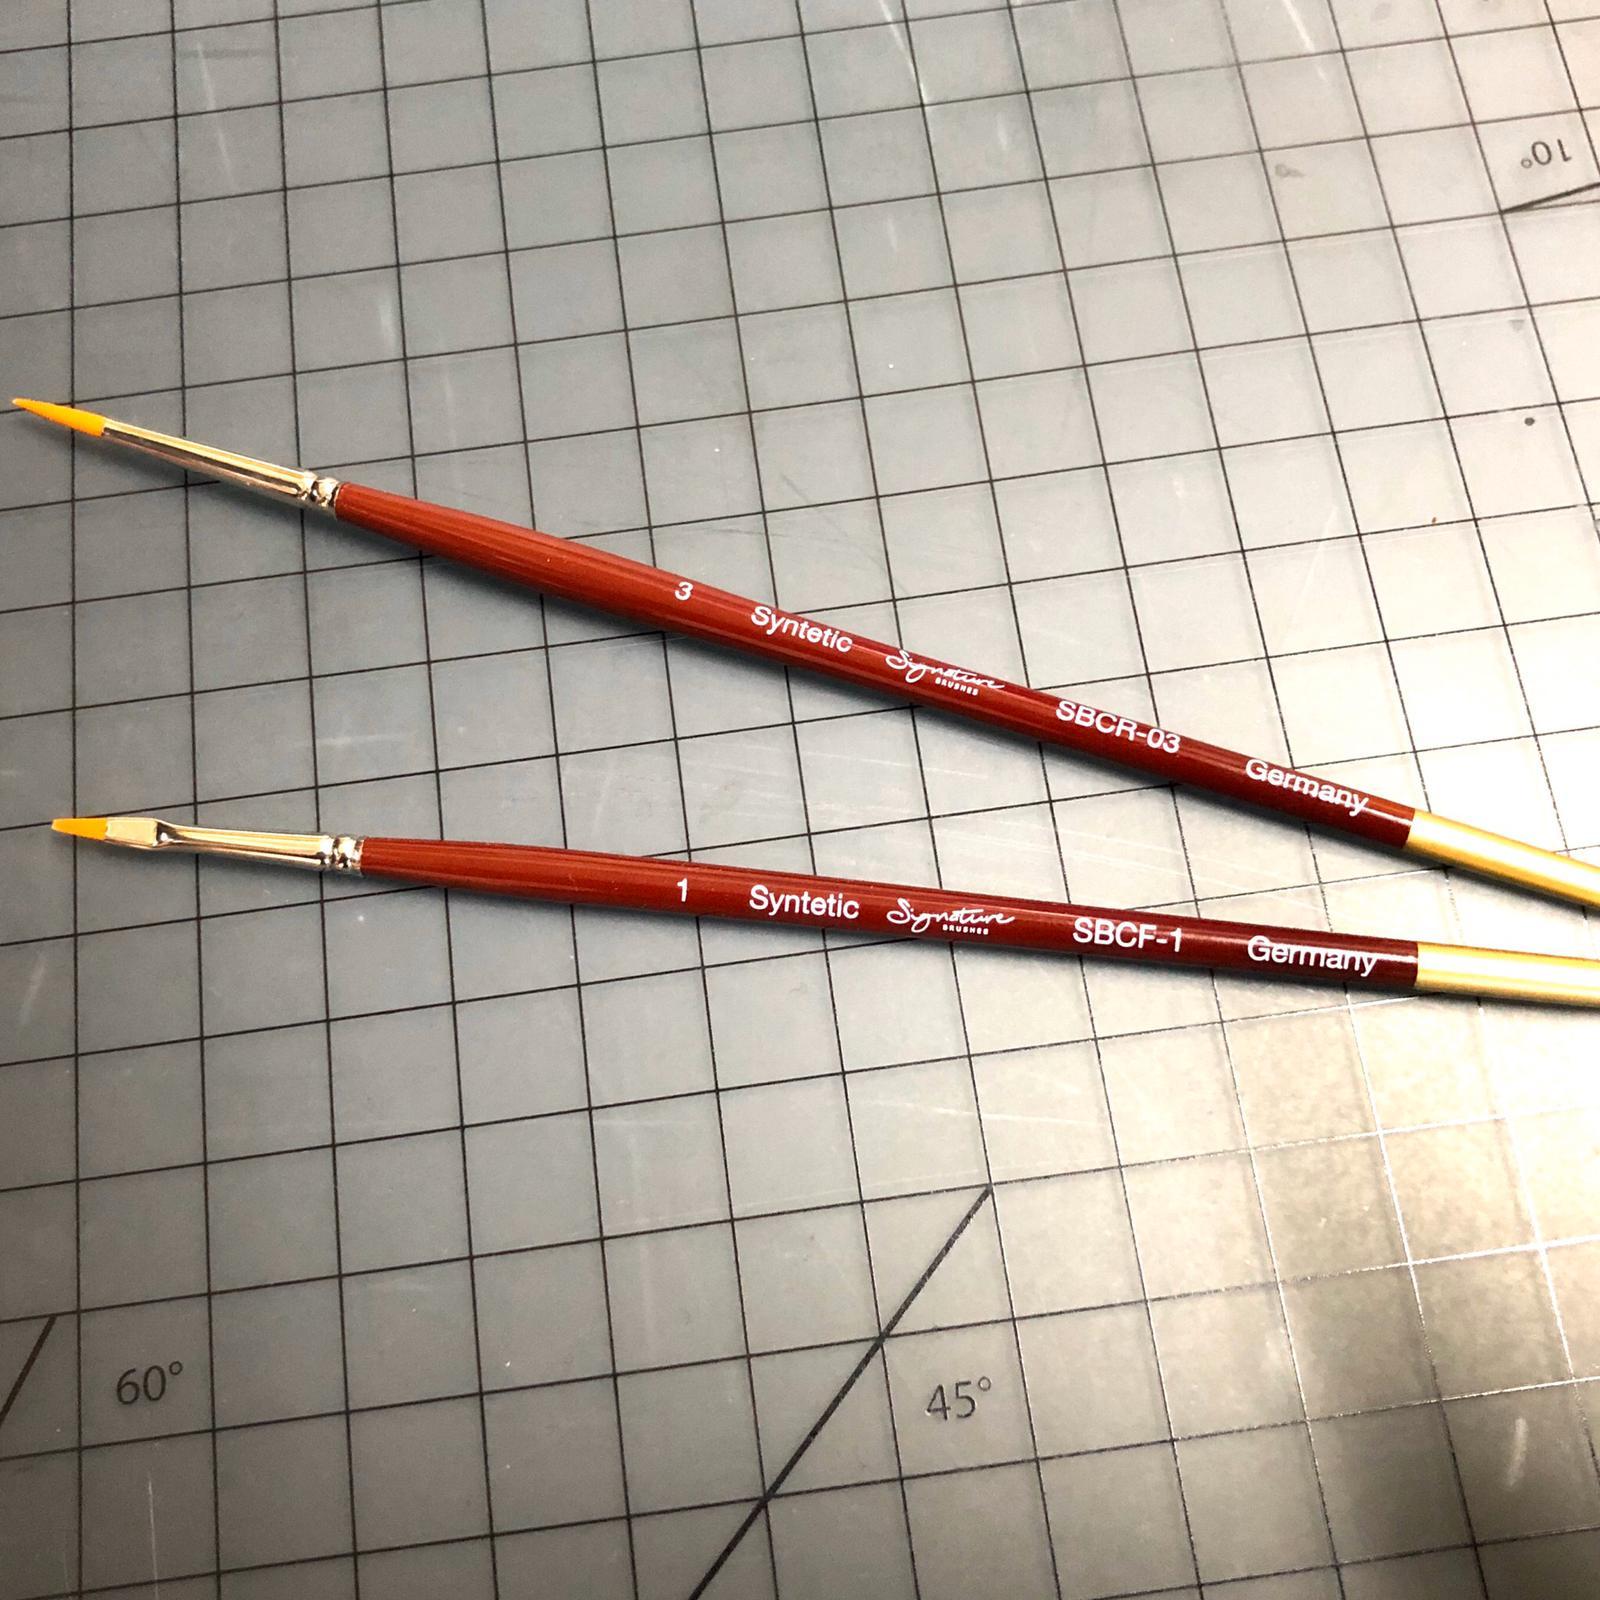
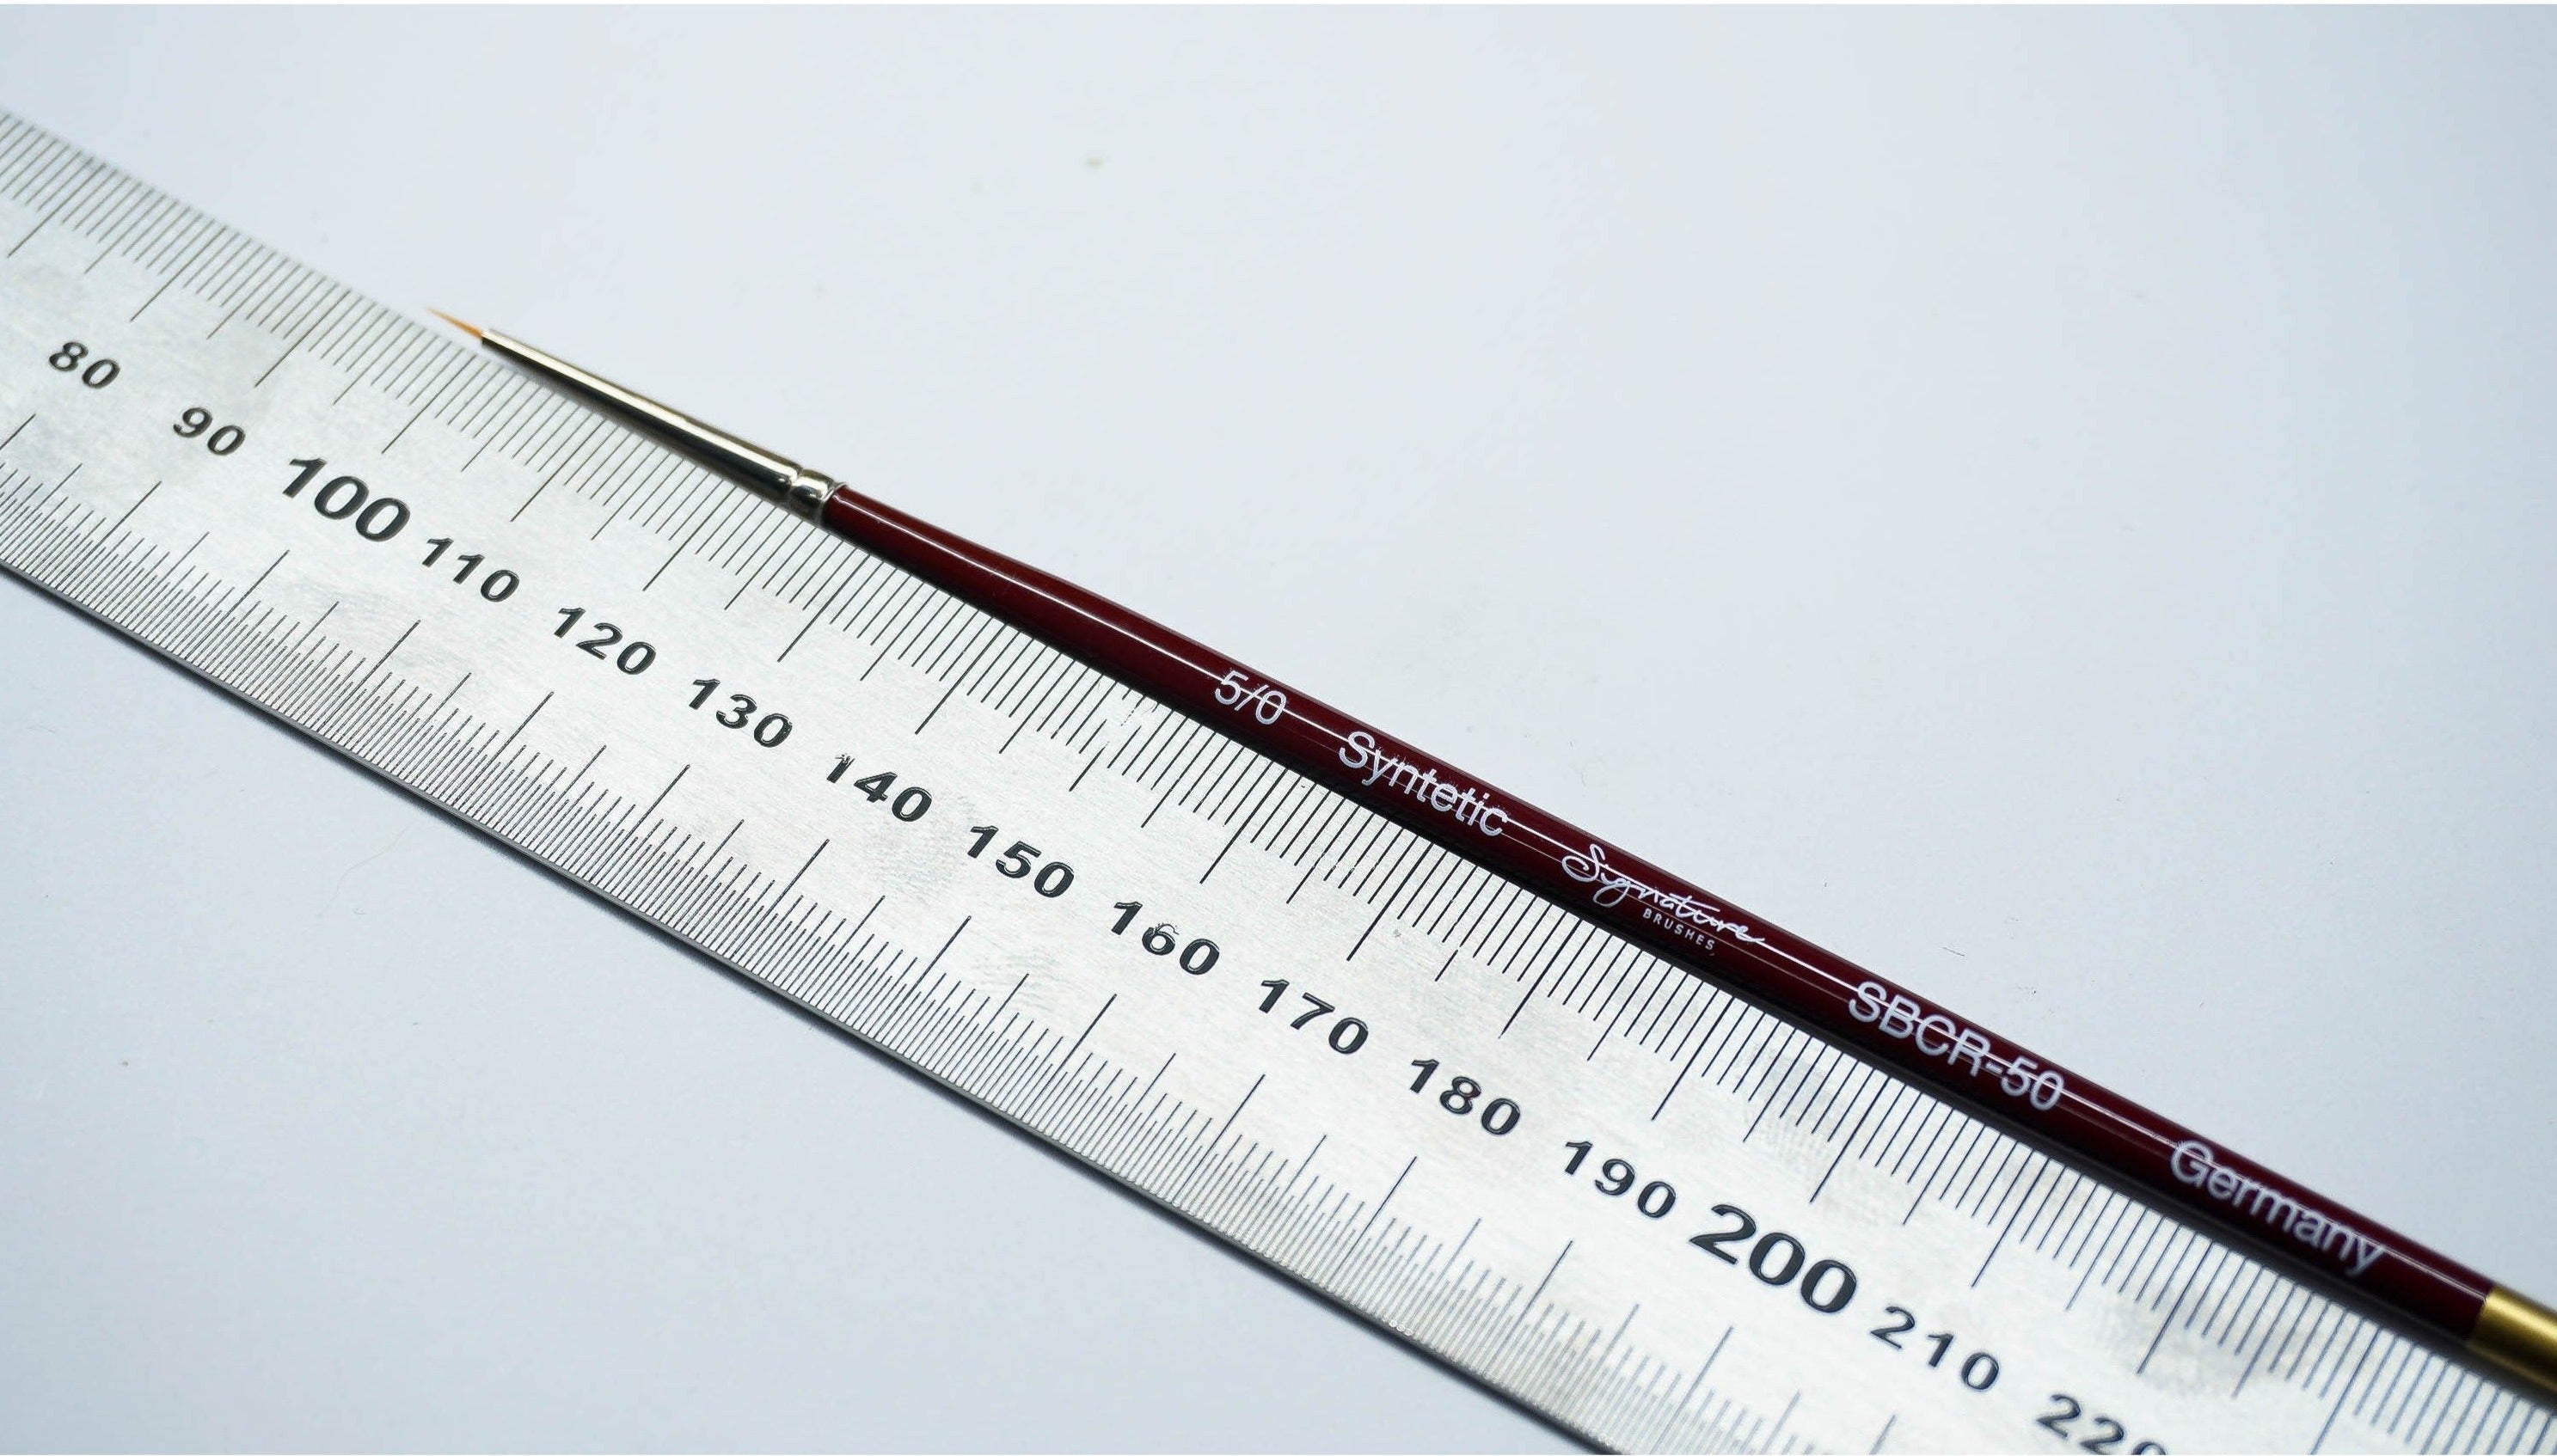
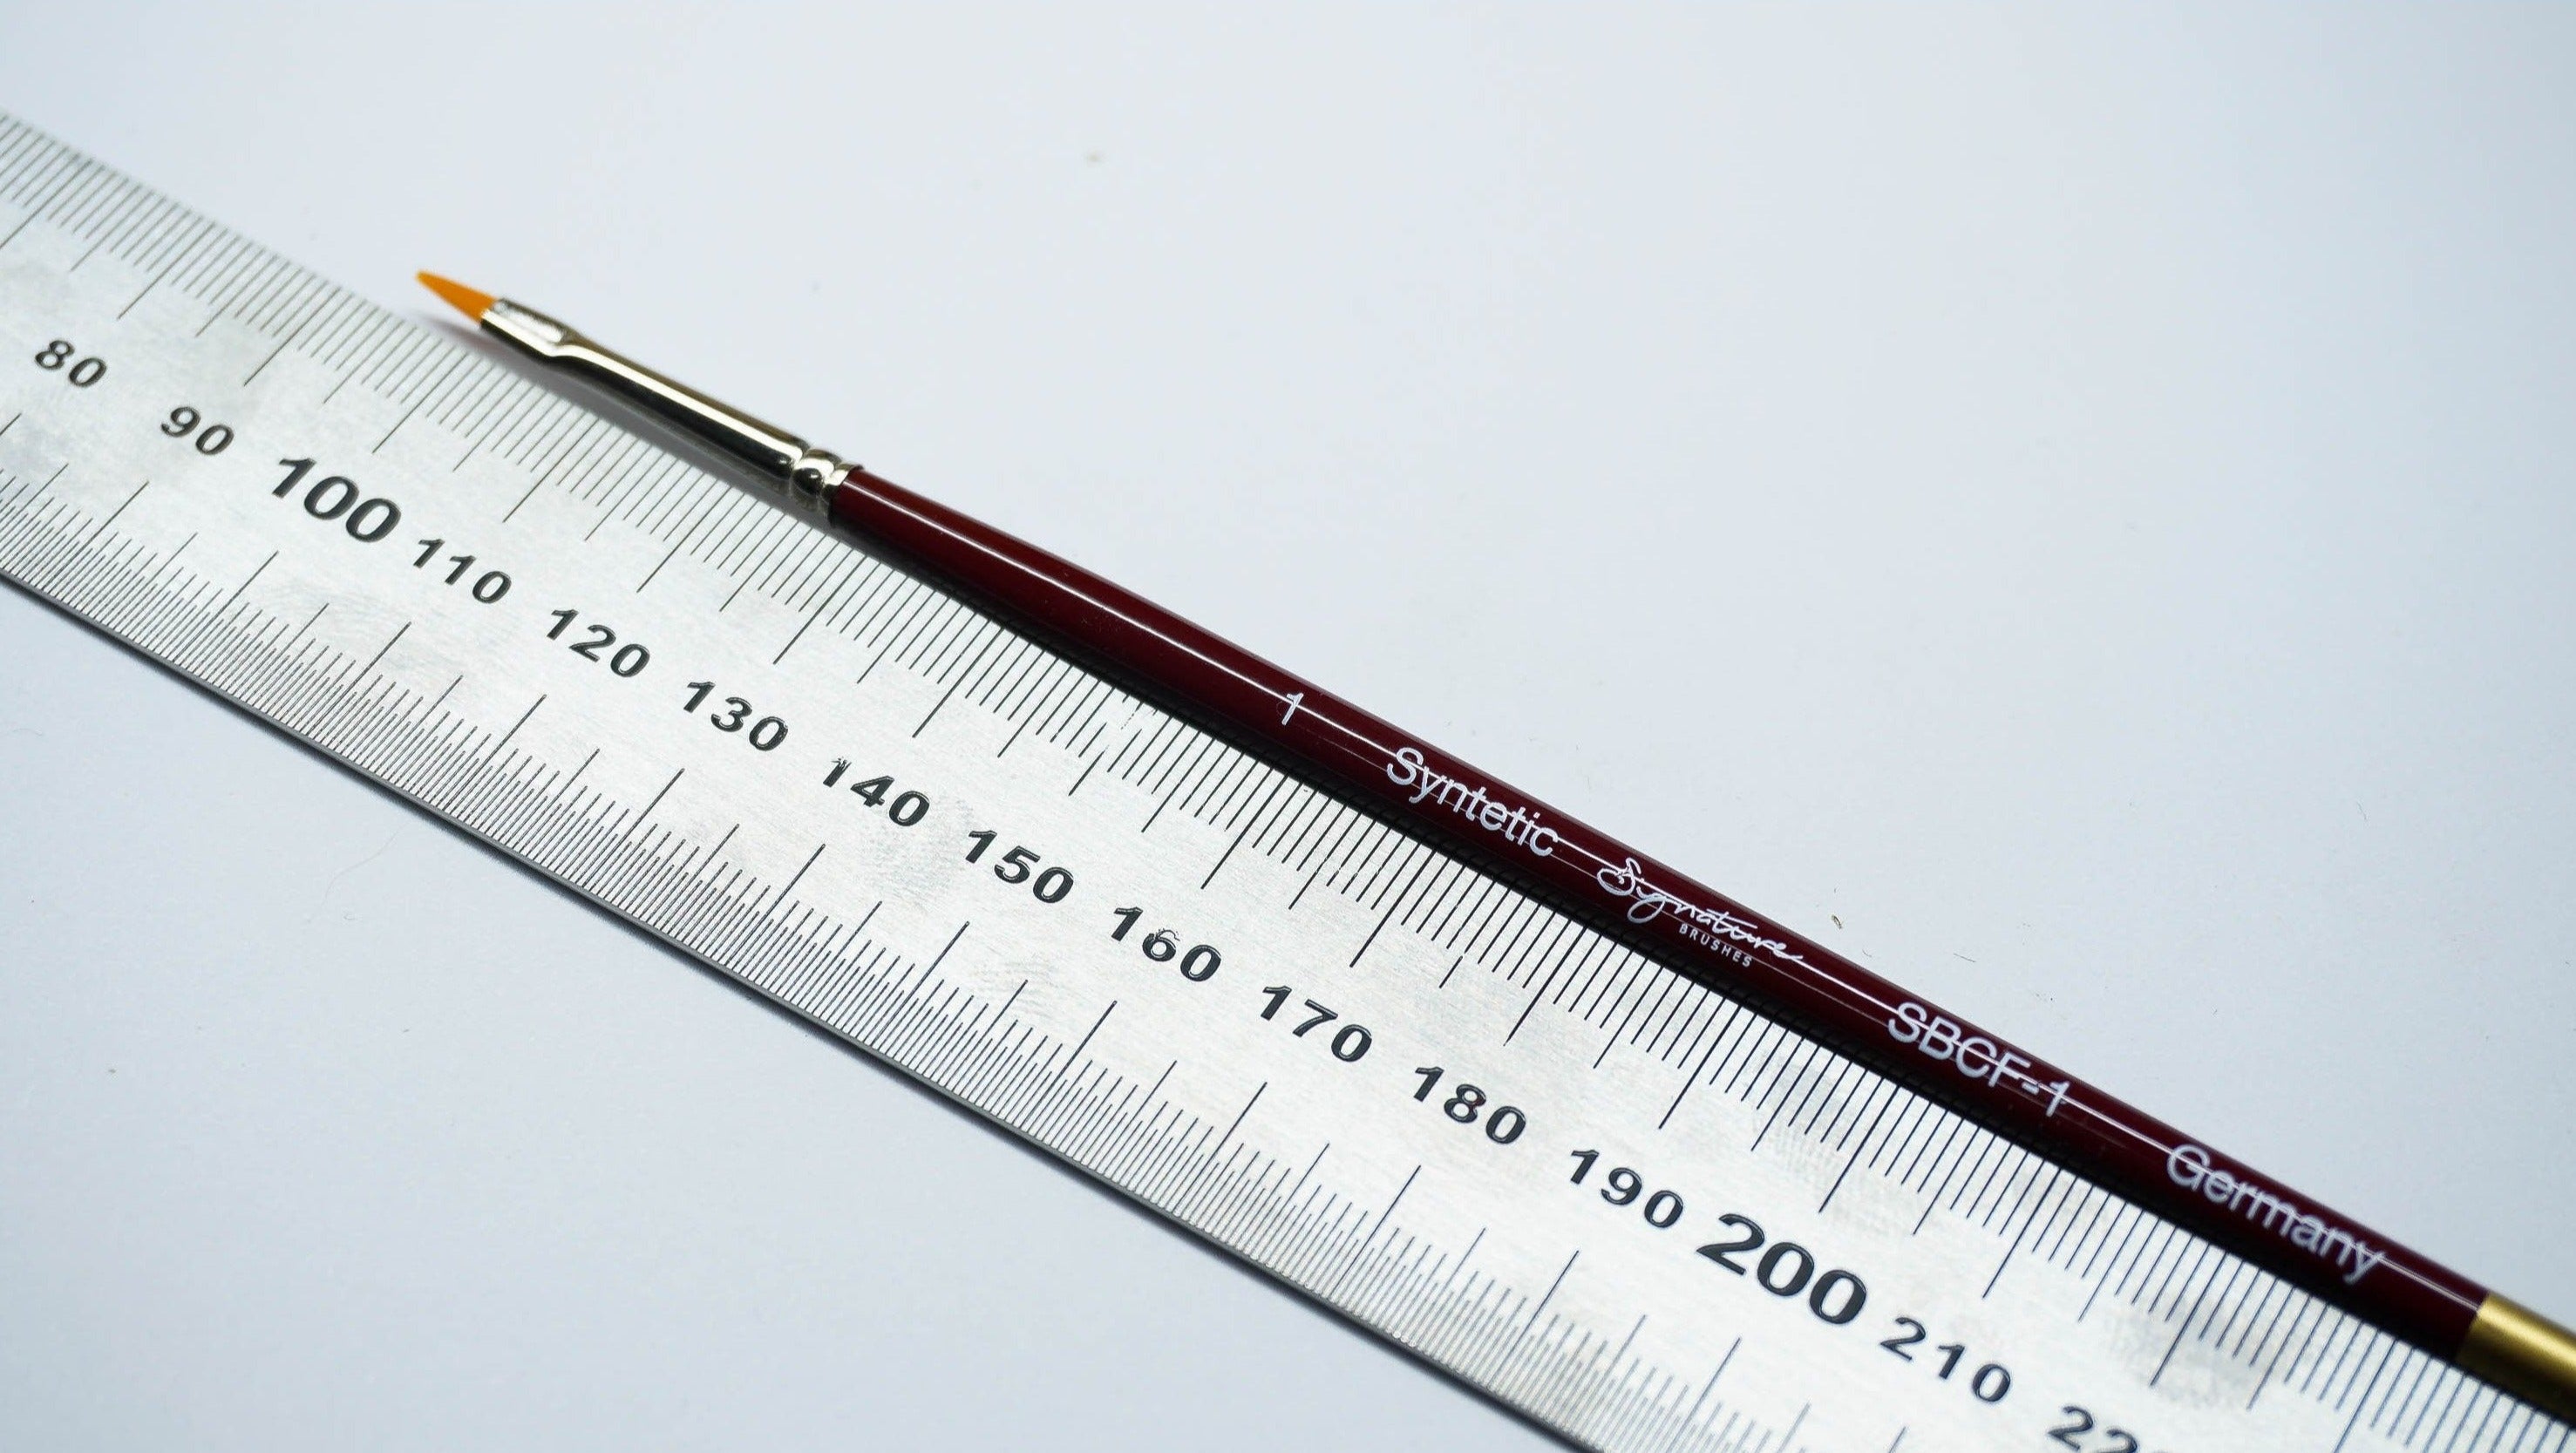
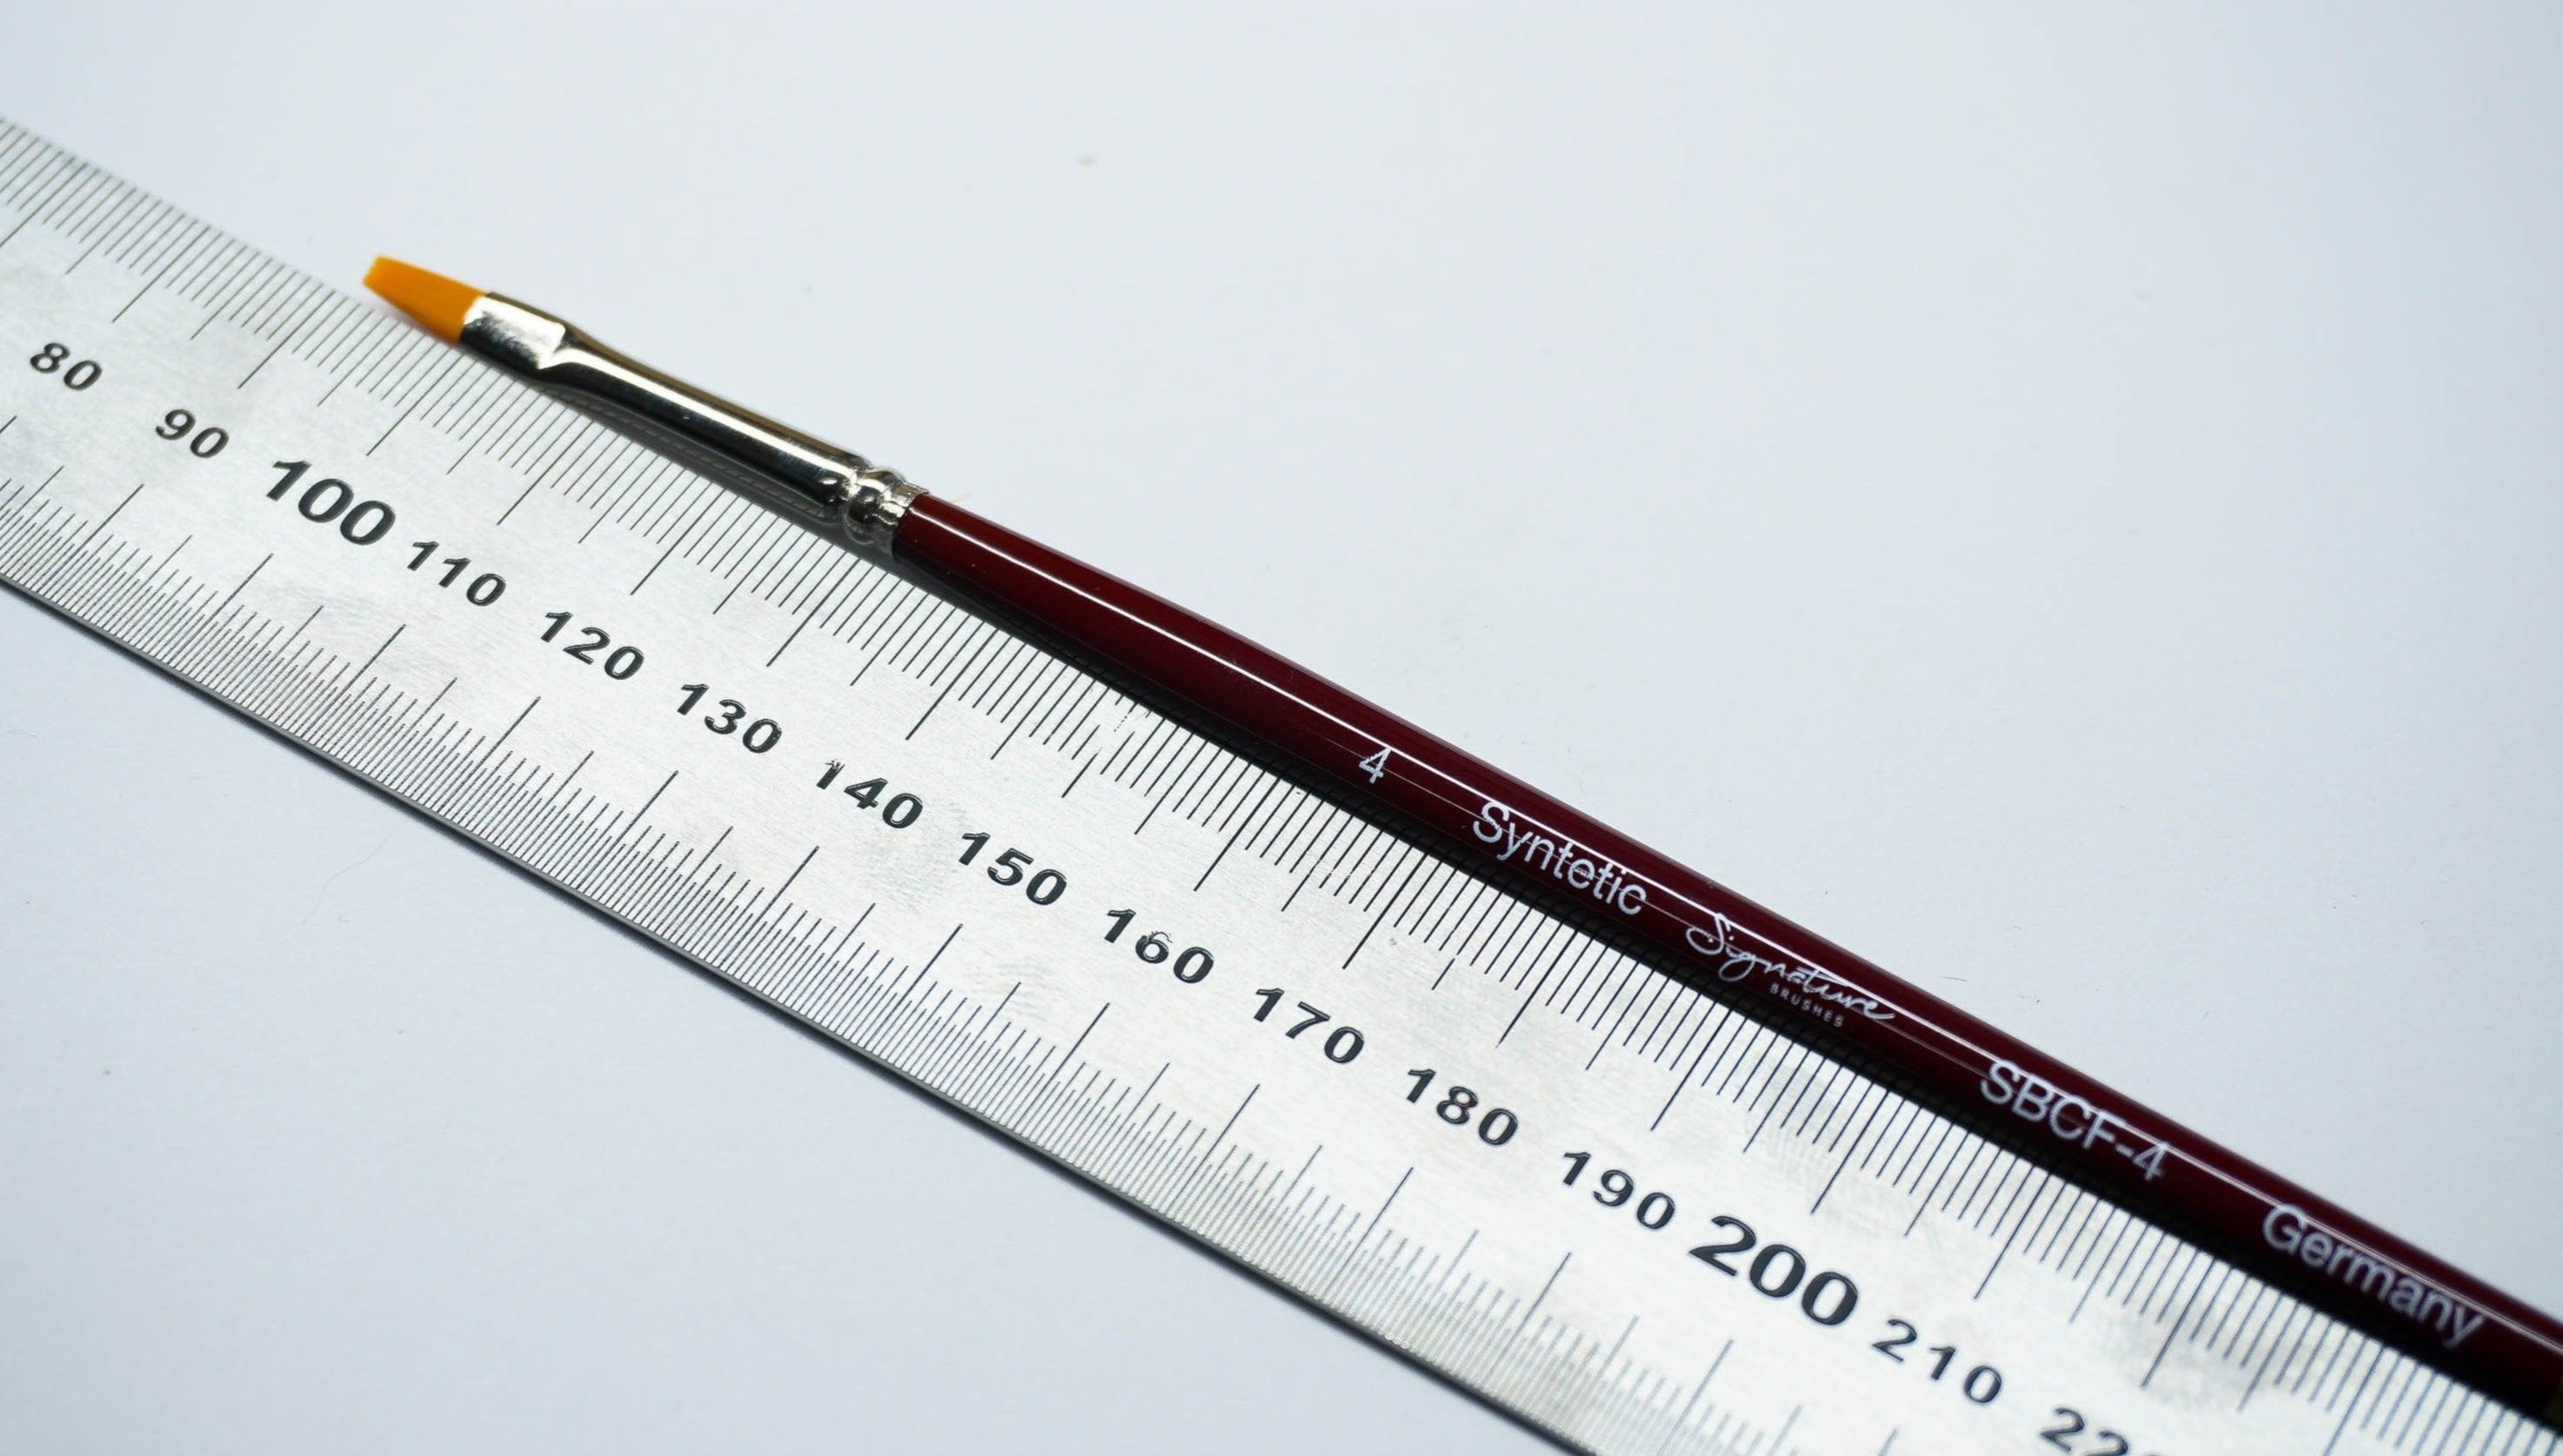
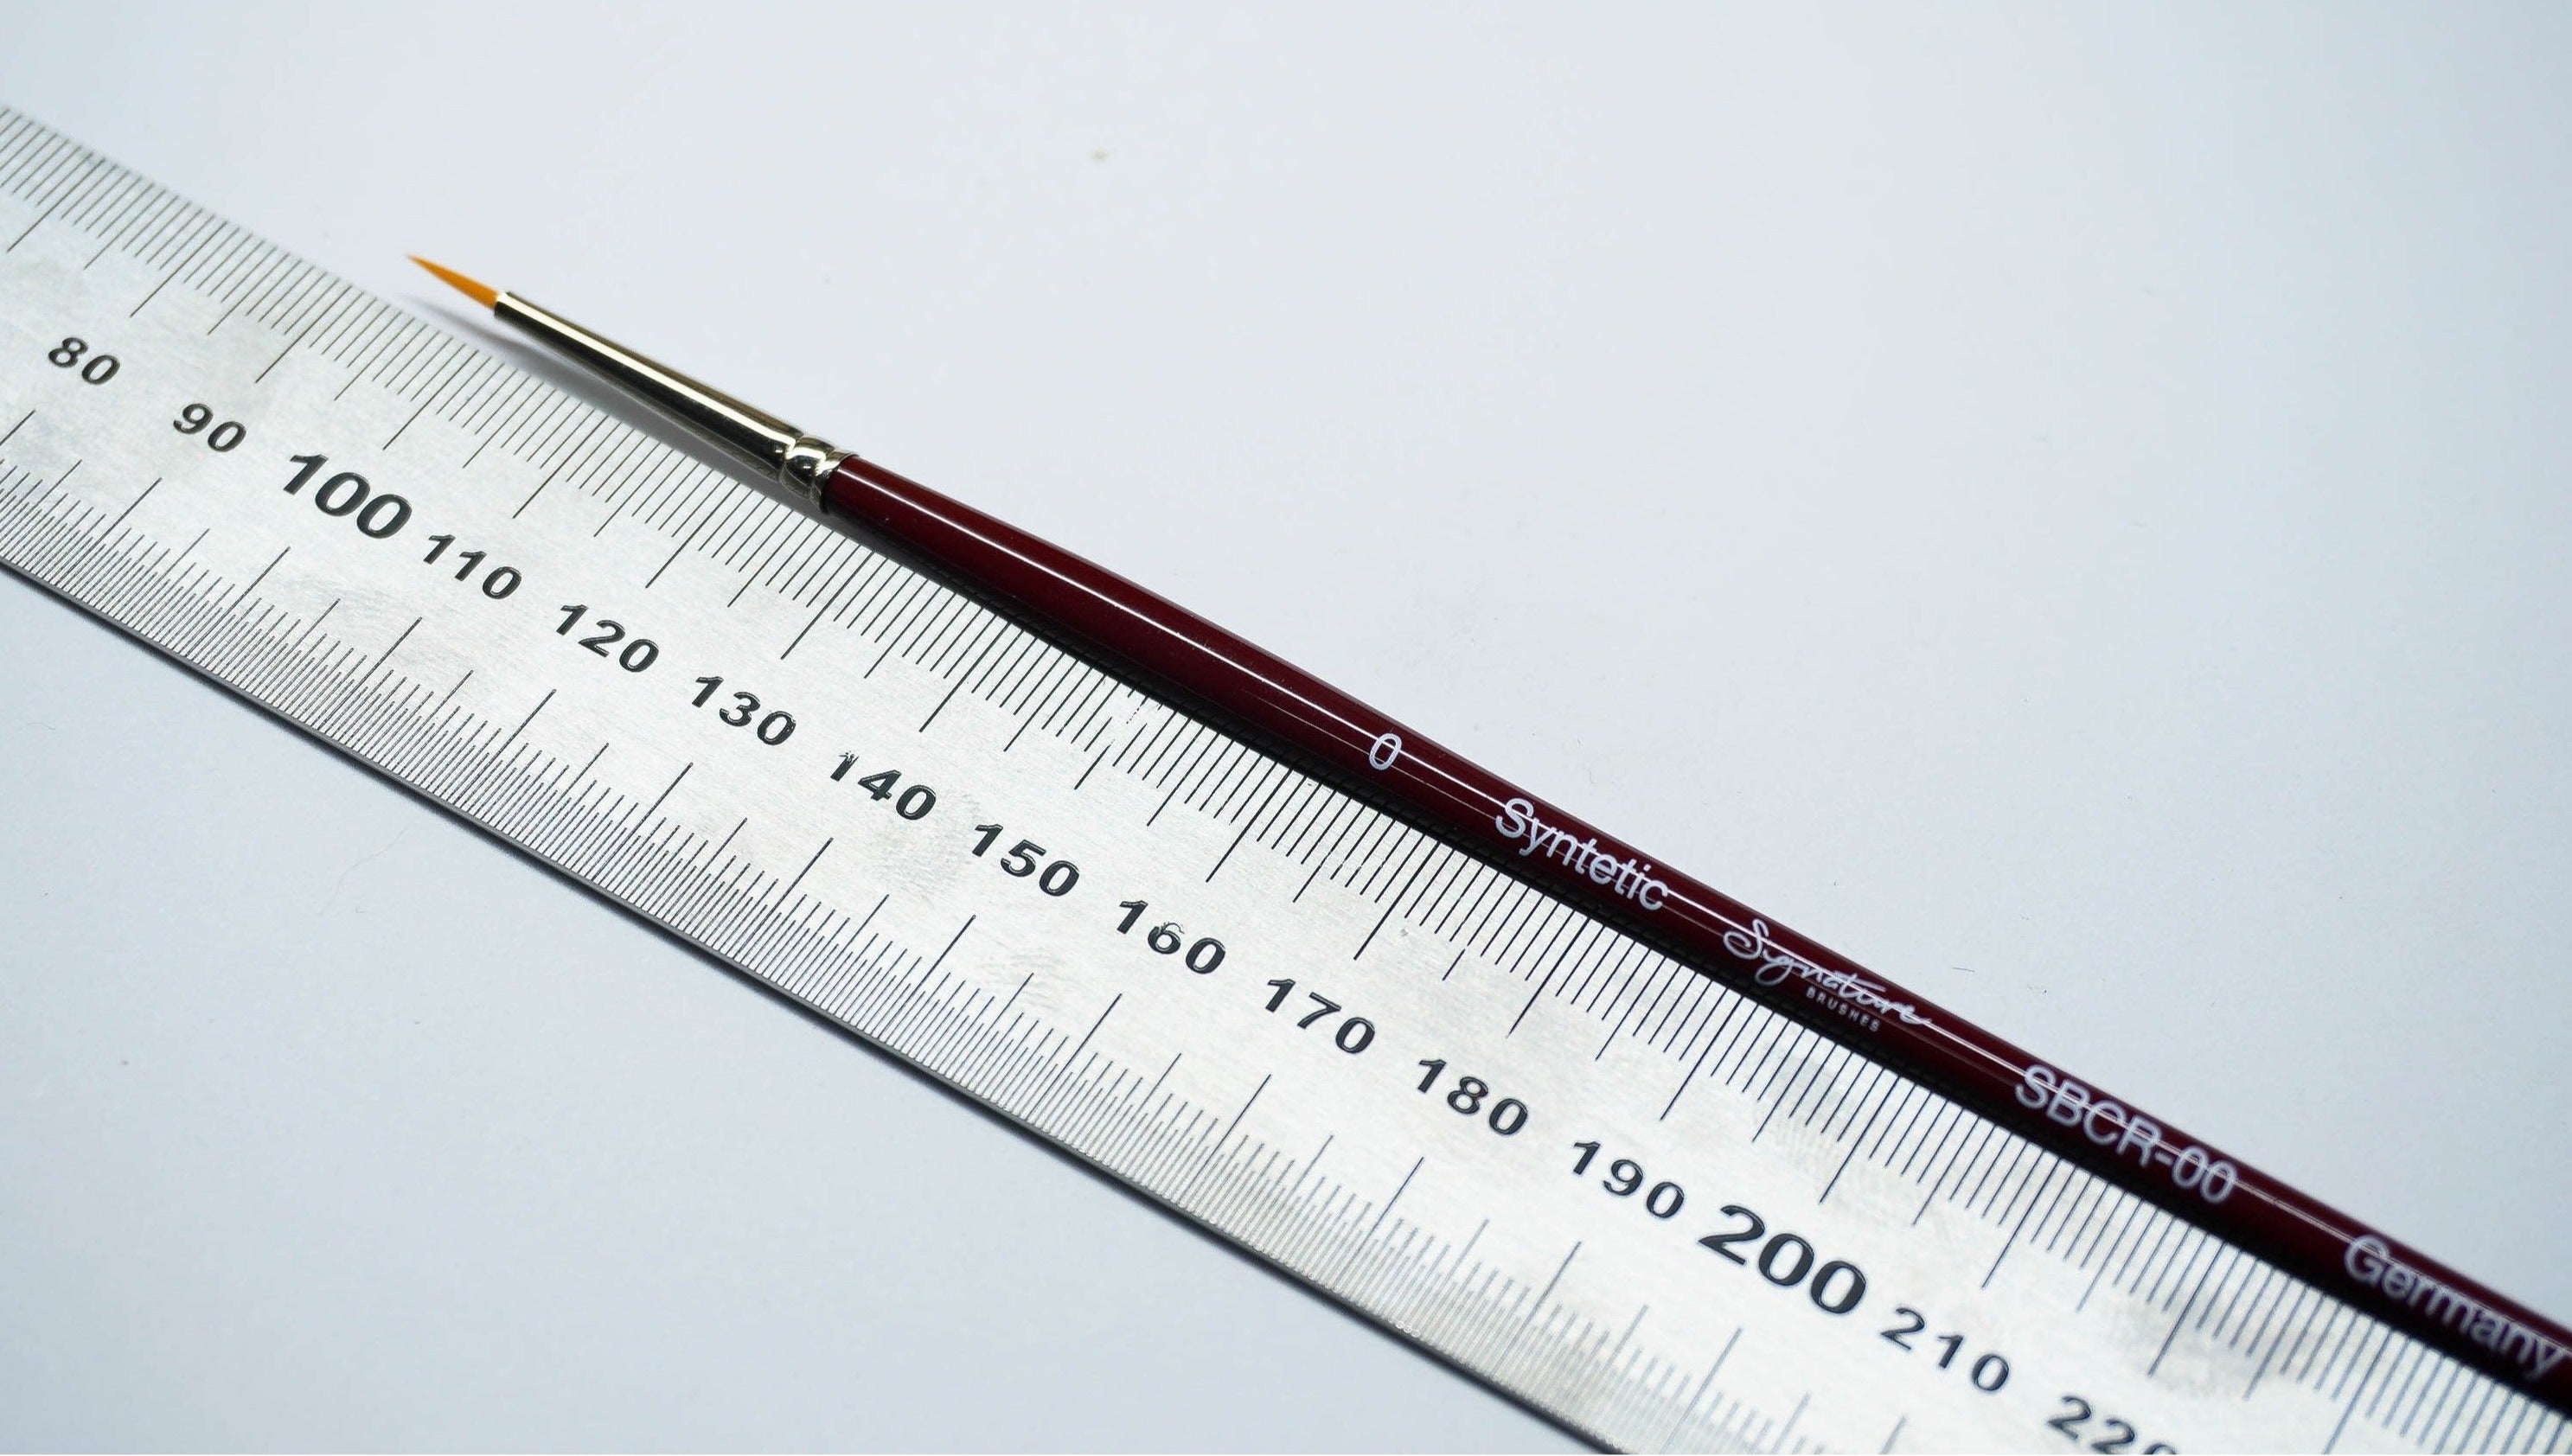
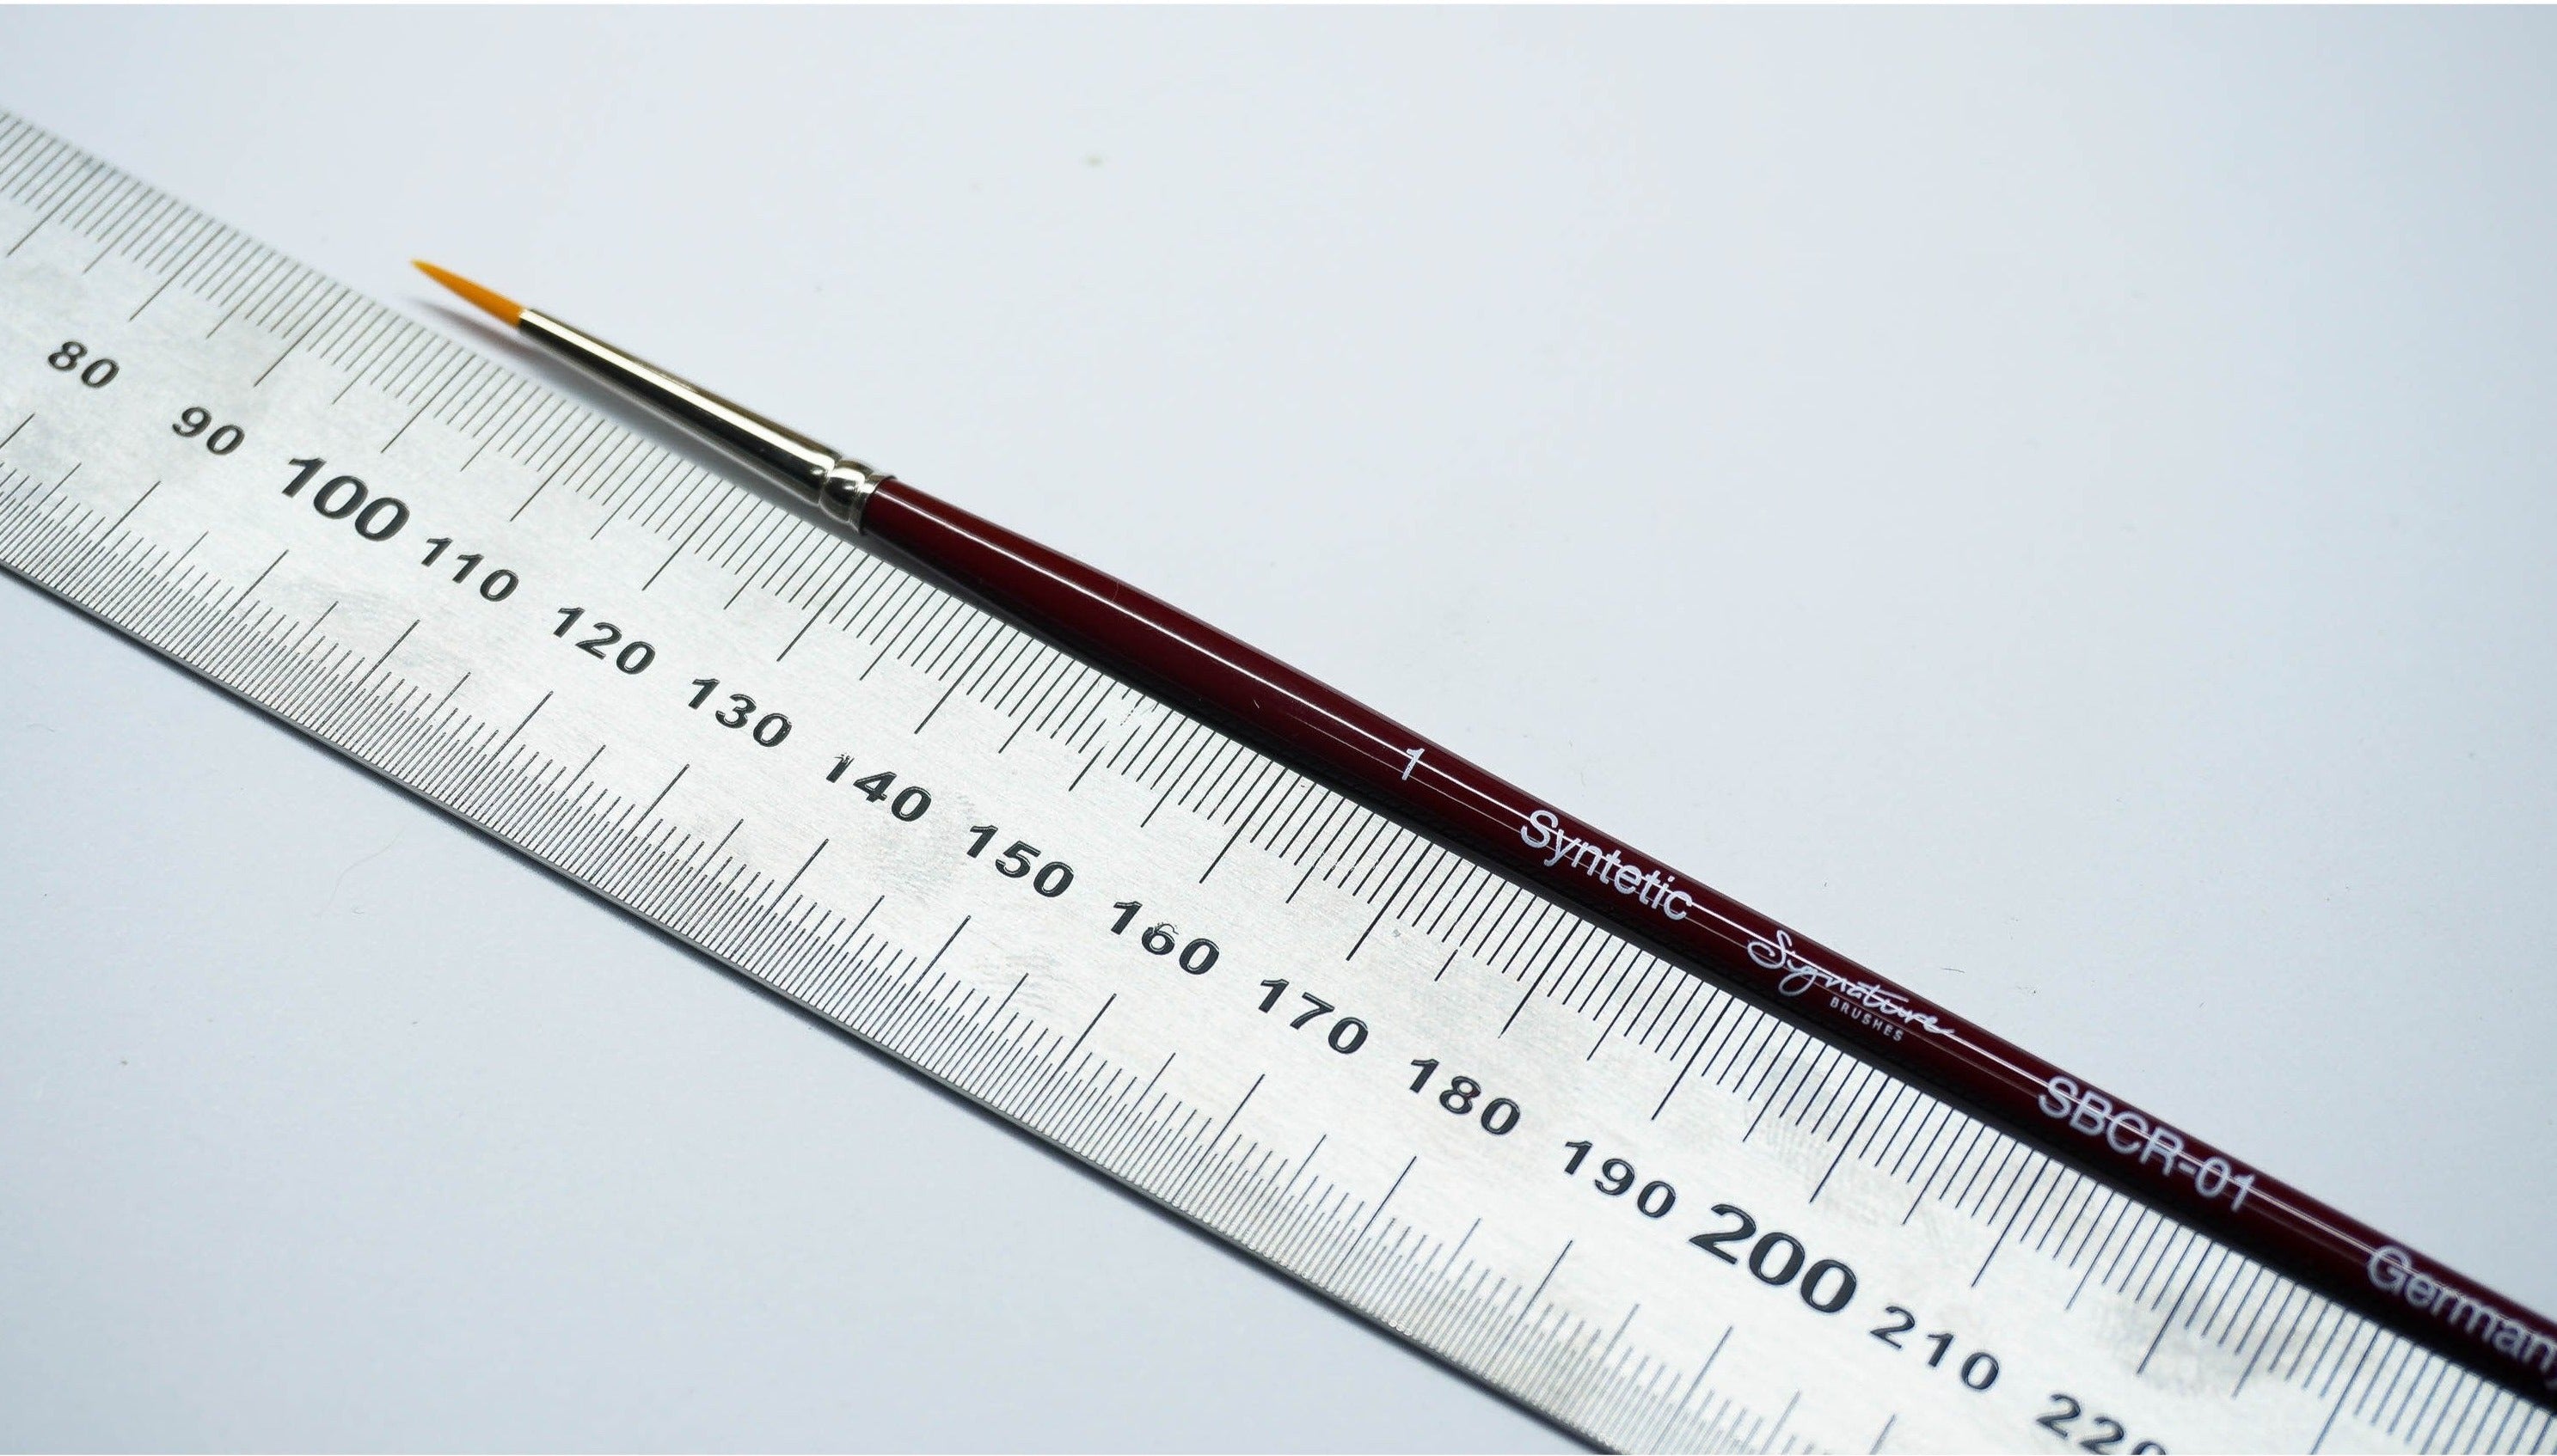
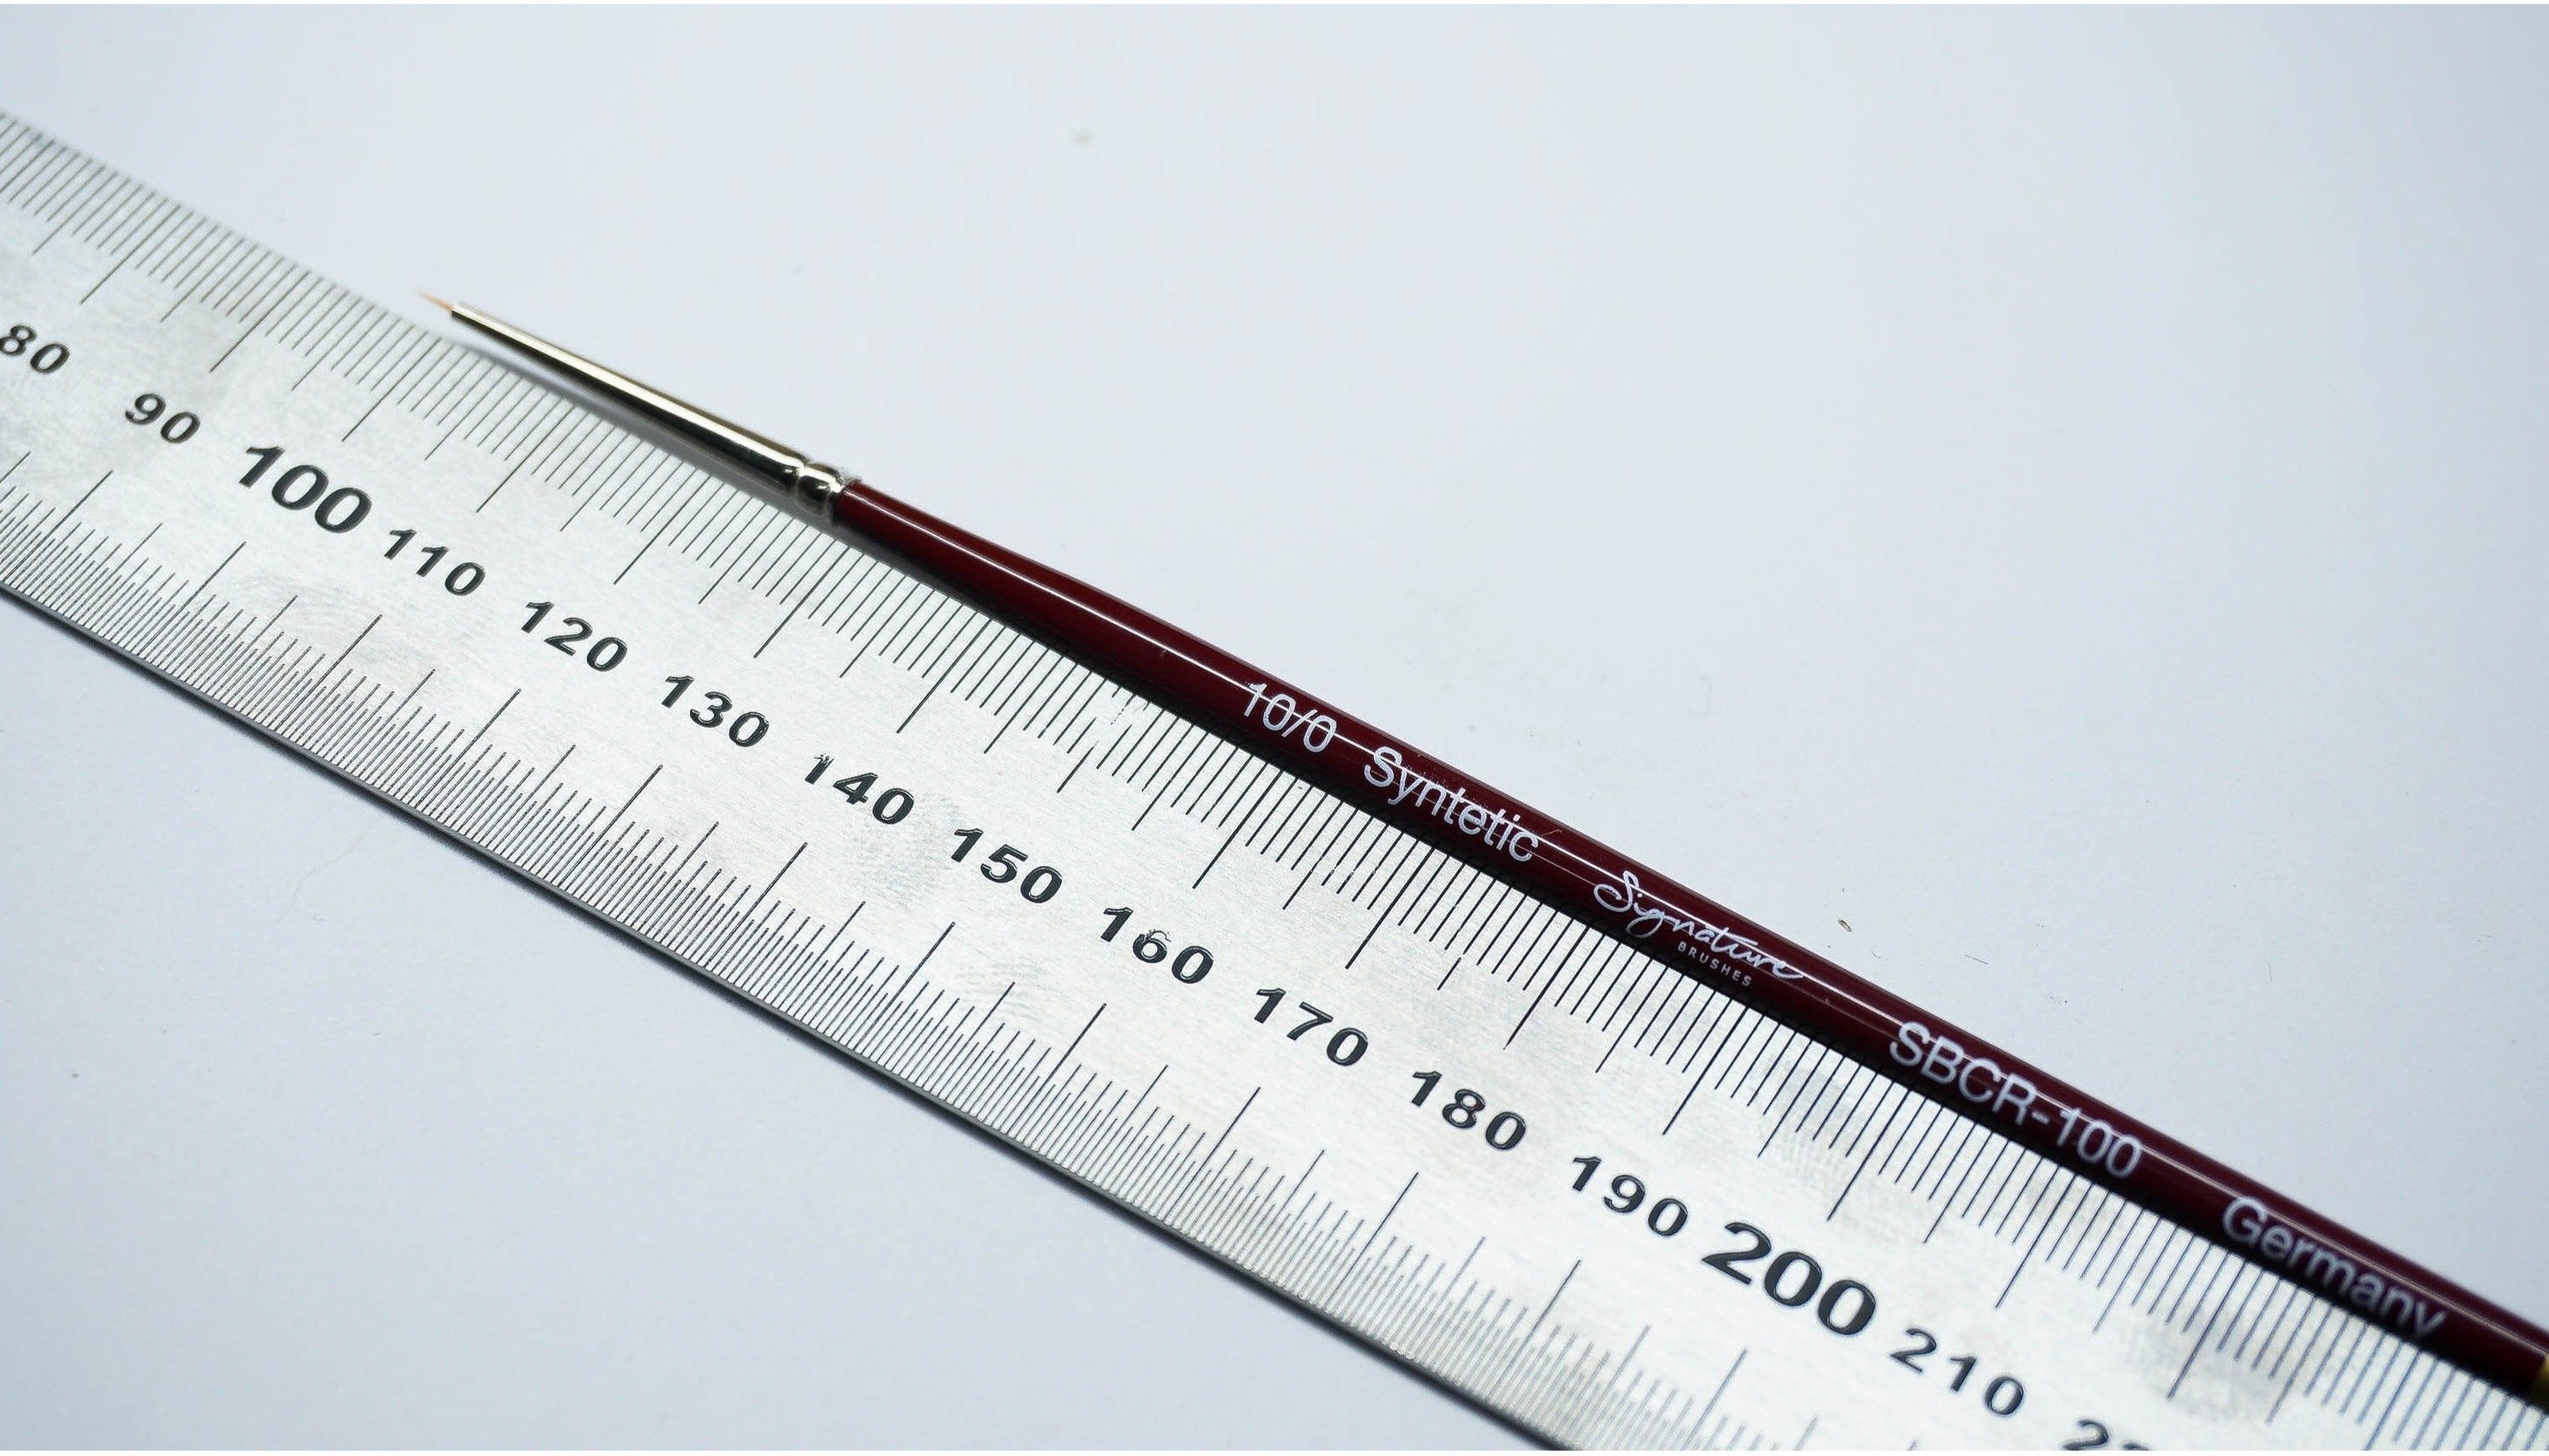
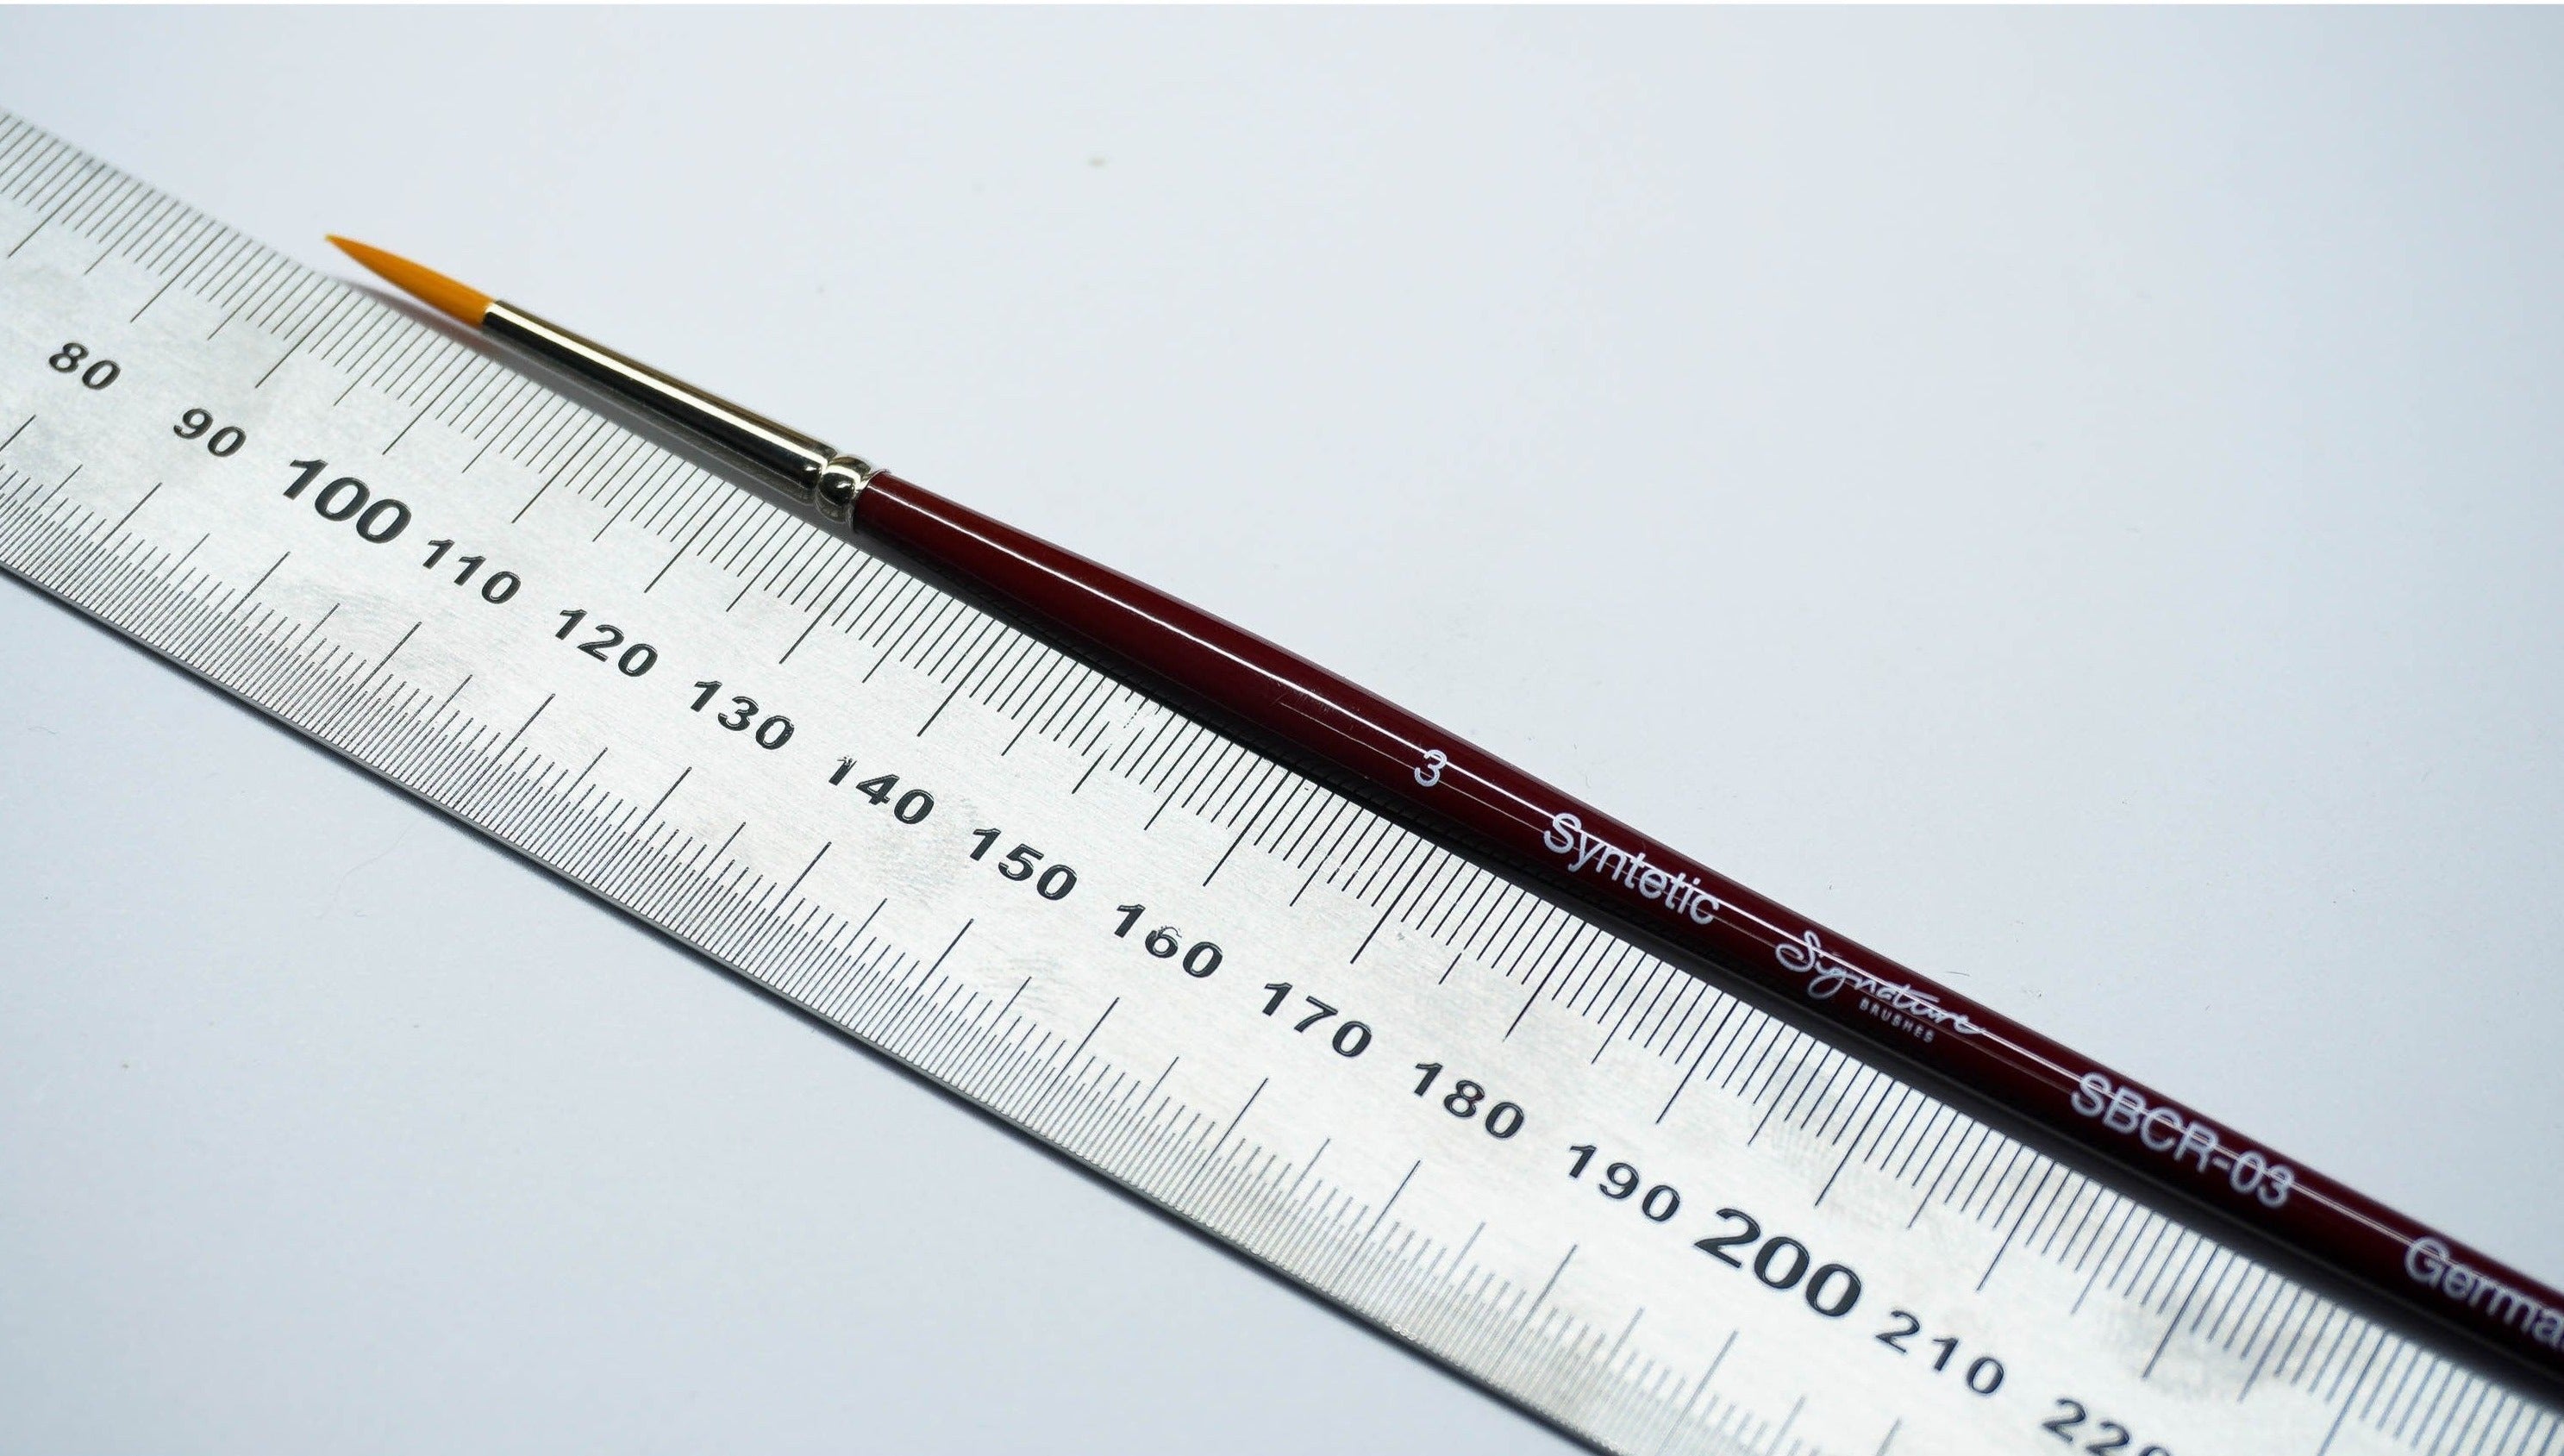
- Fine brushes
- Clips/Paint clips (Alternative: Blu-Tack on a stick)
- Polishing compound
- Cotton buds
- Marker
- Primer (Optional)
- Plastic-friendly paint
- Dry brush
- Microfiber cloth
- Clear Coat
How to Build a Plastic Kit
Step One: Cut
Using a nipper or a cutter, carefully remove all the parts from the sprue.
Tip: Organise the pieces according to paint colour, doing so will make it a lot more convenient to paint them all at once. Having your pieces in one place will also make it a lot easier to set them aside if you are unable to move on to other steps immediately.

Step Two: Trim
Once you have grouped each part by paint colour, trim each of the pieces using a sharp hobby knife. Be careful not to trim too much of it because the excess can be dealt with by sanding. You can use sandpaper or a sanding sponge with 600–800 grit to deal with the excess.
Step Three: Sand
For larger parts, such as the body of a car or a plane’s fuselage, sanding is necessary. To sand these parts, use sandpaper or a sanding sponge with a grit of 1200 or higher. Avoid using anything less than 1000–1200 grit in order not to leave any sanding marks that might show through the paint. Sand it until you are certain that the paint will stick to the body.
Tip: Mark the mould lines with a marker pen to make it easier to sand. Sand the mould lines using sand paper or a sanding sponge with 600–800 grit. You can use a scriber tool to scribe the lines if necessary.

Step Four: Clean
After sanding, to prepare for painting, wipe the body with wax and grease remover to remove all the residual dirt that might be stuck to the piece.
Step Five: Paint
For Larger Parts:
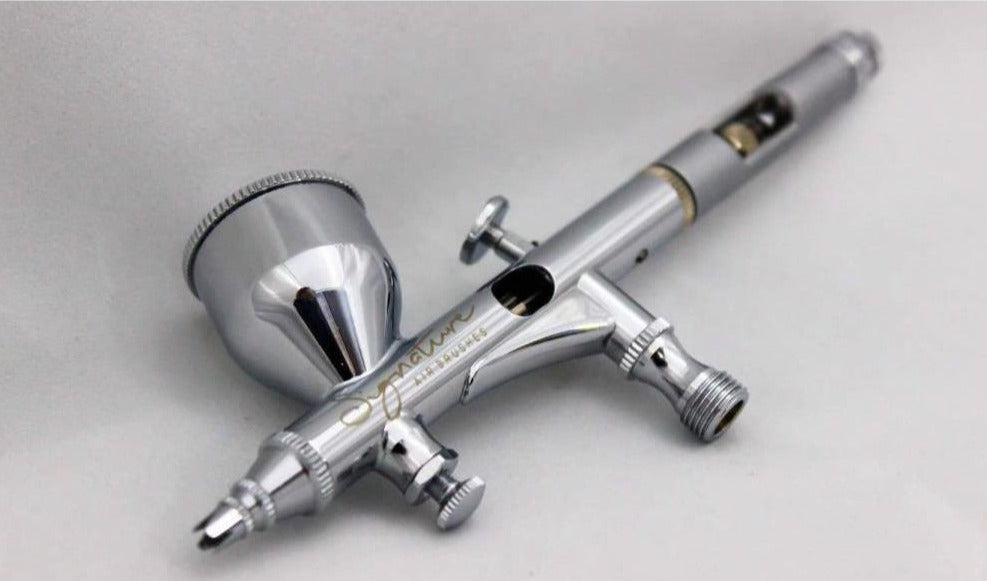
Before proceeding with this step, make sure that the body is prepped properly to get a nice, even finish. Dust off the piece with a clean brush before spraying, and take note of the distance when spray painting in order to get your desired outcome. Spraying too close might cause the paint to drip, and doing it too far might give you a rough surface, so test out the distance first before proceeding.
For the first coat, spray with a light mist first and follow with three layers of paint for perfect coverage. You can use a primer first, but if you prepped the body well enough, it is no longer needed. It is up to you if you still want to prime before painting.
For Smaller Parts:
For the smaller parts, you can either hand paint them, mask them, or spray paint them. When spray painting, you can use paint clips or a blu-tack on a stick to hold the smaller parts. Spray the part with a light mist for the first coat, and spray another two to three coats.
Step Six: Clear Coat
After painting, apply a clear coat. Cover with a light mist for the first coat, and then add a heavy coat after curing for fifteen to thirty minutes. It is best to spray indoors or have a spray booth to ensure that no dirt or debris gets stuck with the coat.

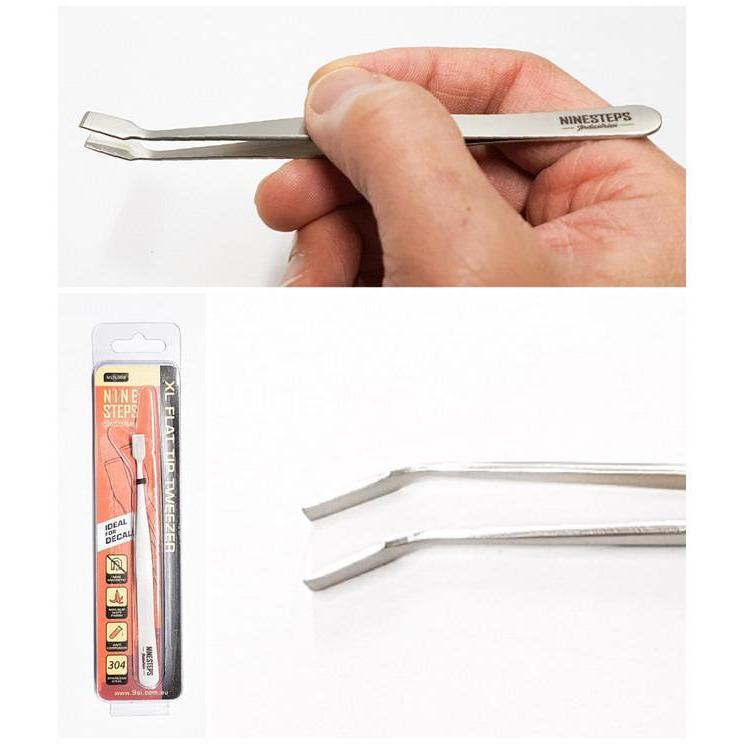
Step Seven: Decals
For the decals, cut them into shapes and soak them in warm water for ten to fifteen seconds. If the decal is still not sliding out, you can dip it in longer until it slides out easily. Carefully press your decals in place with a cotton bud and gently get rid of the remaining water and bubbles.
Let the paint dry for at least 3 days before wetting sand and polishing. For best results, let it set for a week.
Step Eight: Wet Sand and Polish
After letting the paint dry for a couple of days, it is time to wet sand and polish. Start with a 2000-grit sandpaper or sanding sponge, then wet sand again with a 3000-grit sandpaper. Make sure to avoid the edges and areas that are hard to reach; sand only the large surfaces.
Step Nine: Rub
Once wet sanding is done, use a strong compound and rub it in using a microfiber towel until the piece is glossy. For light colours, polishing one time is enough, but for darker colours, you might need to do it a few more times until you get your desired result.

In Conclusion
Building your very first plastic kit could be intimidating. The amount of parts and tools that you have to handle might seem overwhelming at a glance, but you can slowly make sense of it as you go along. Learning by trying it out for yourself is always fun, and this might be a brand new thing for you now, but you never know, it might become a routine for you in the future. Plastic modelling kits are great starters for beginner model builders and are budget-friendly too. There are plenty of options to choose from, and with this tutorial, you do not have to worry anymore about not being able to build one for yourself.
At Ninesteps Industries, we offer a wide range of products for beginner and experienced RC enthusiasts. Find the best one for your needs and preference here!
What do you want us to make a tutorial on next? Feel free to message us with your ideas!
Also, make sure to follow us on Facebook, Instagram, and Youtube!